
The Decorators Team Fliers
Felix Mottram
Leading Edges.
Page 1Page 2
Page 3
Page 4
Page 5
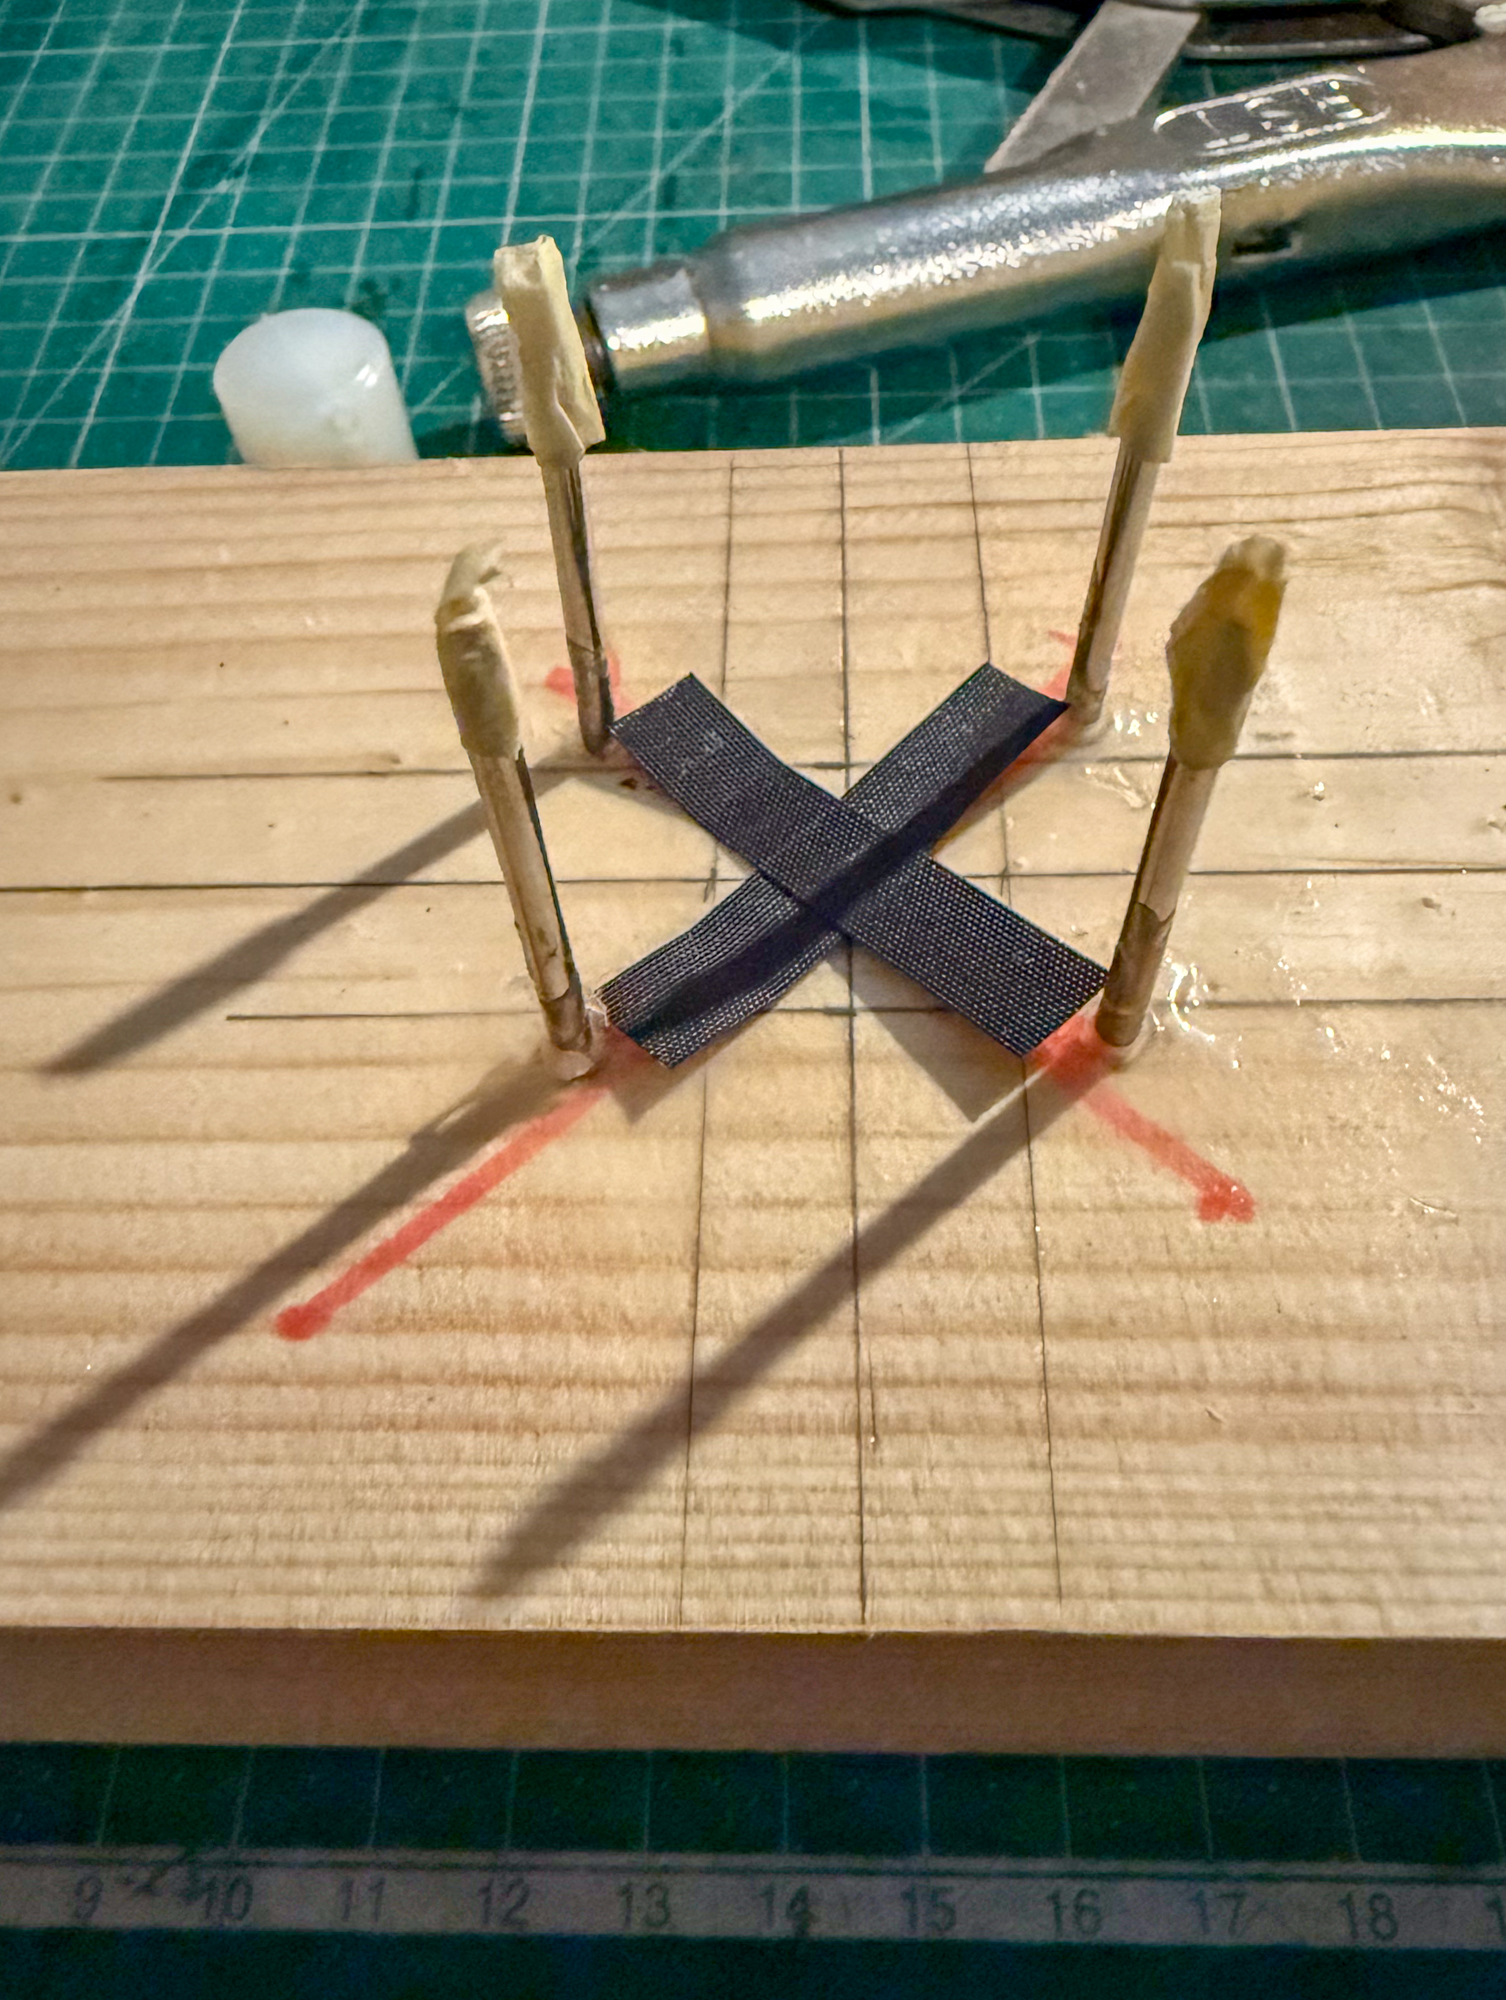
Taping proved to quite a challenge especially before a screwdriver was used as a tool in placing the adhesive backed tape pieces.
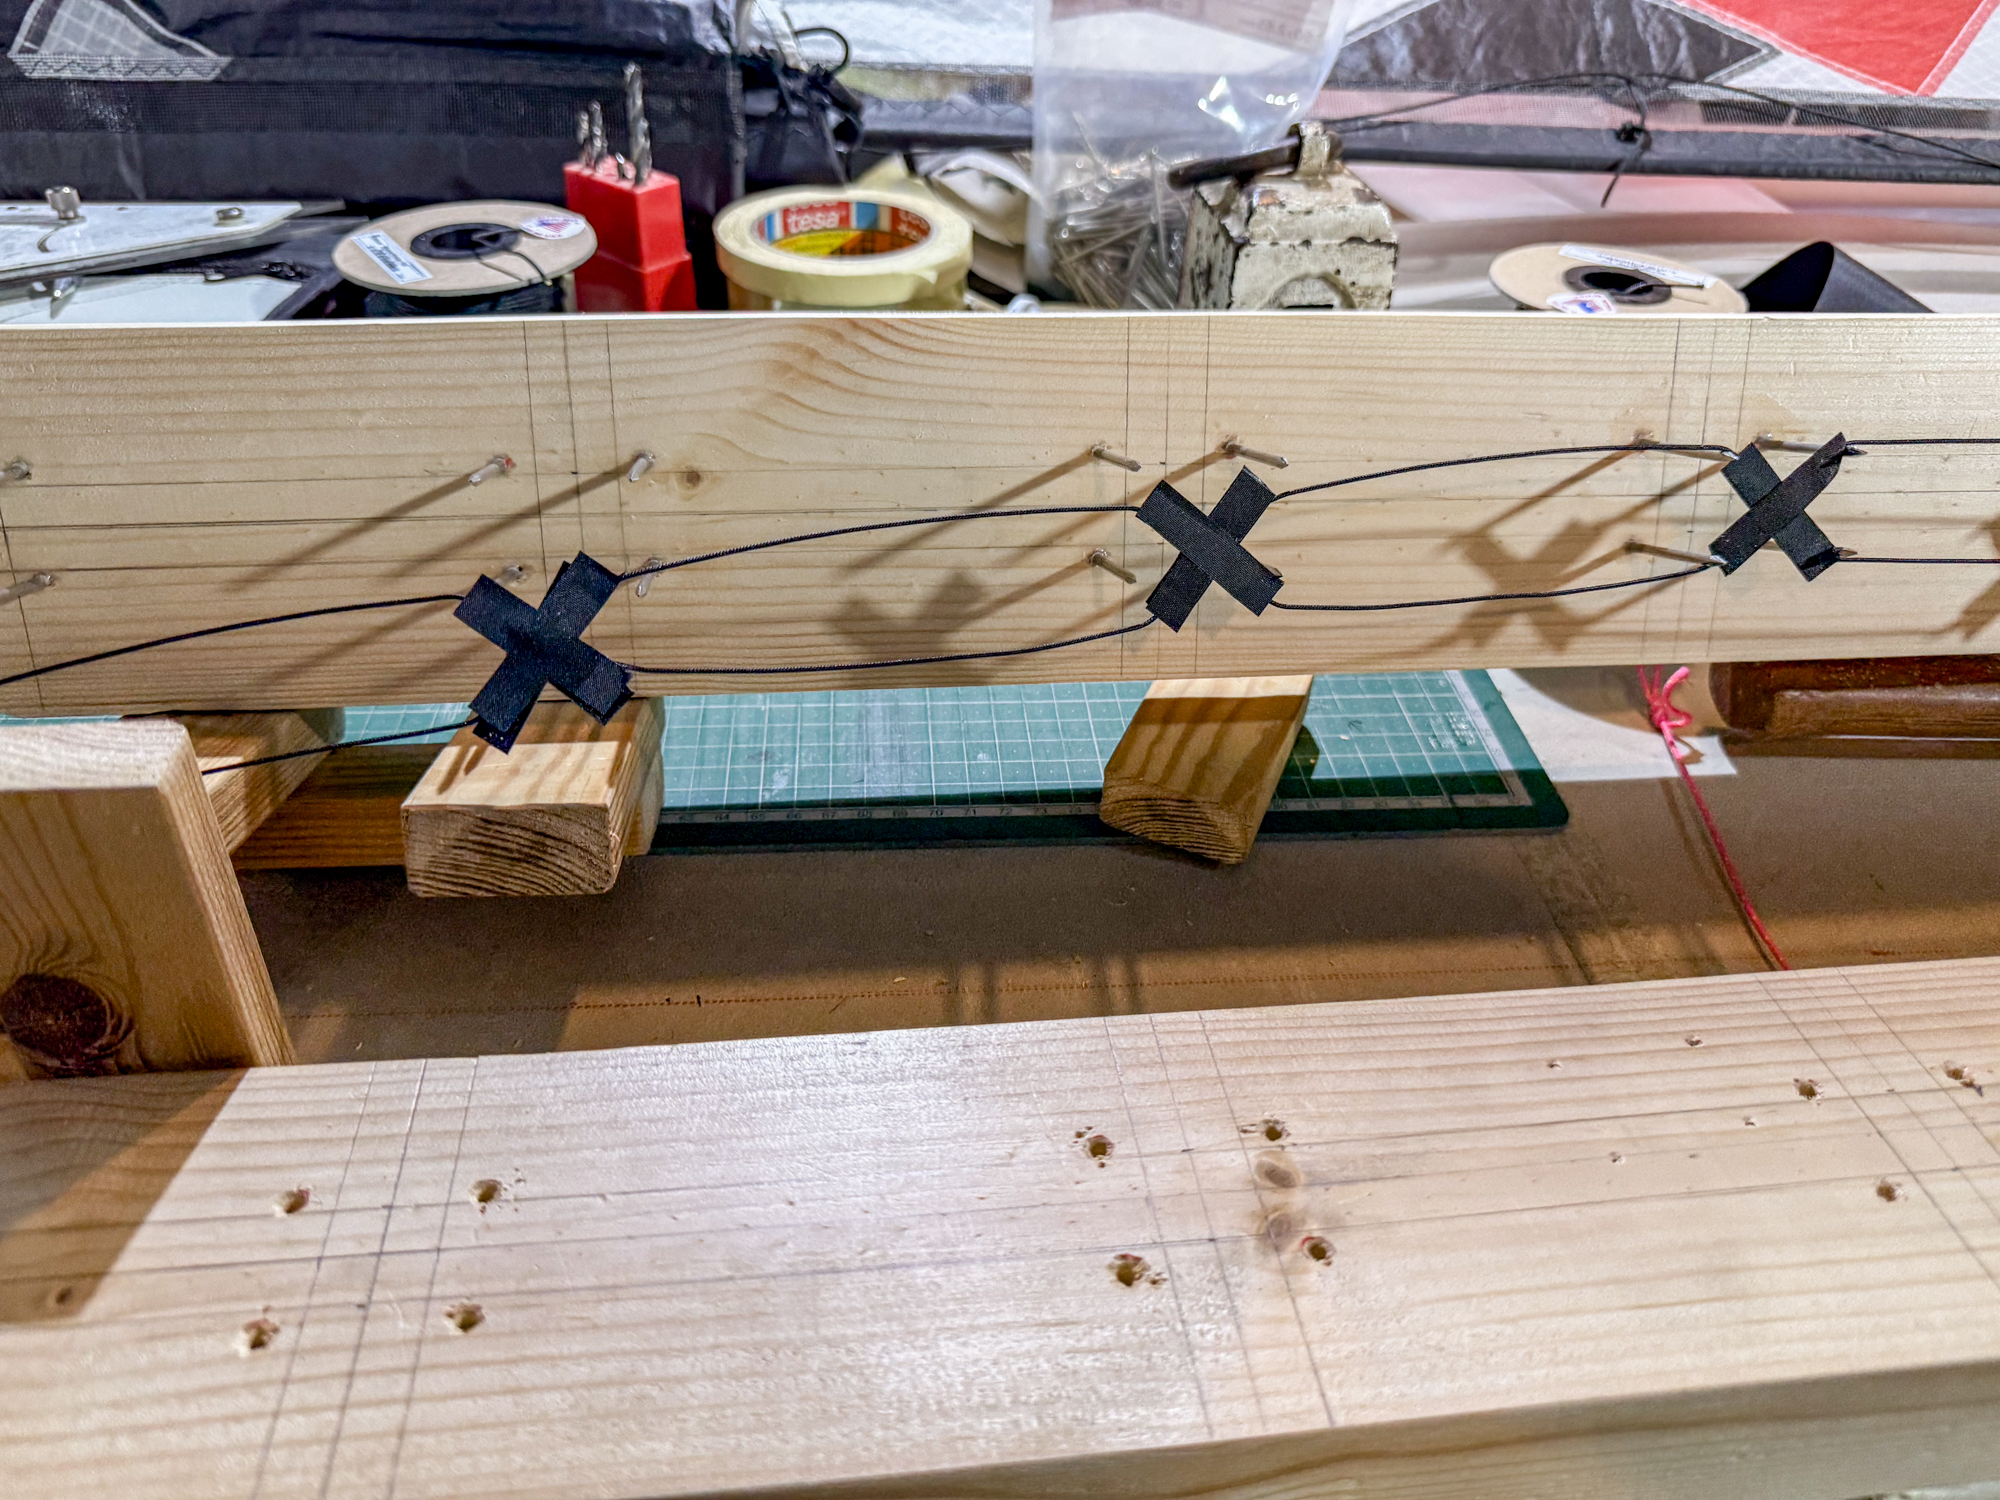
The misalignments became apparent when the set was released and a few were re-set.
I did not want to delay the sewing as the adhesive may have 'come unstuck'!
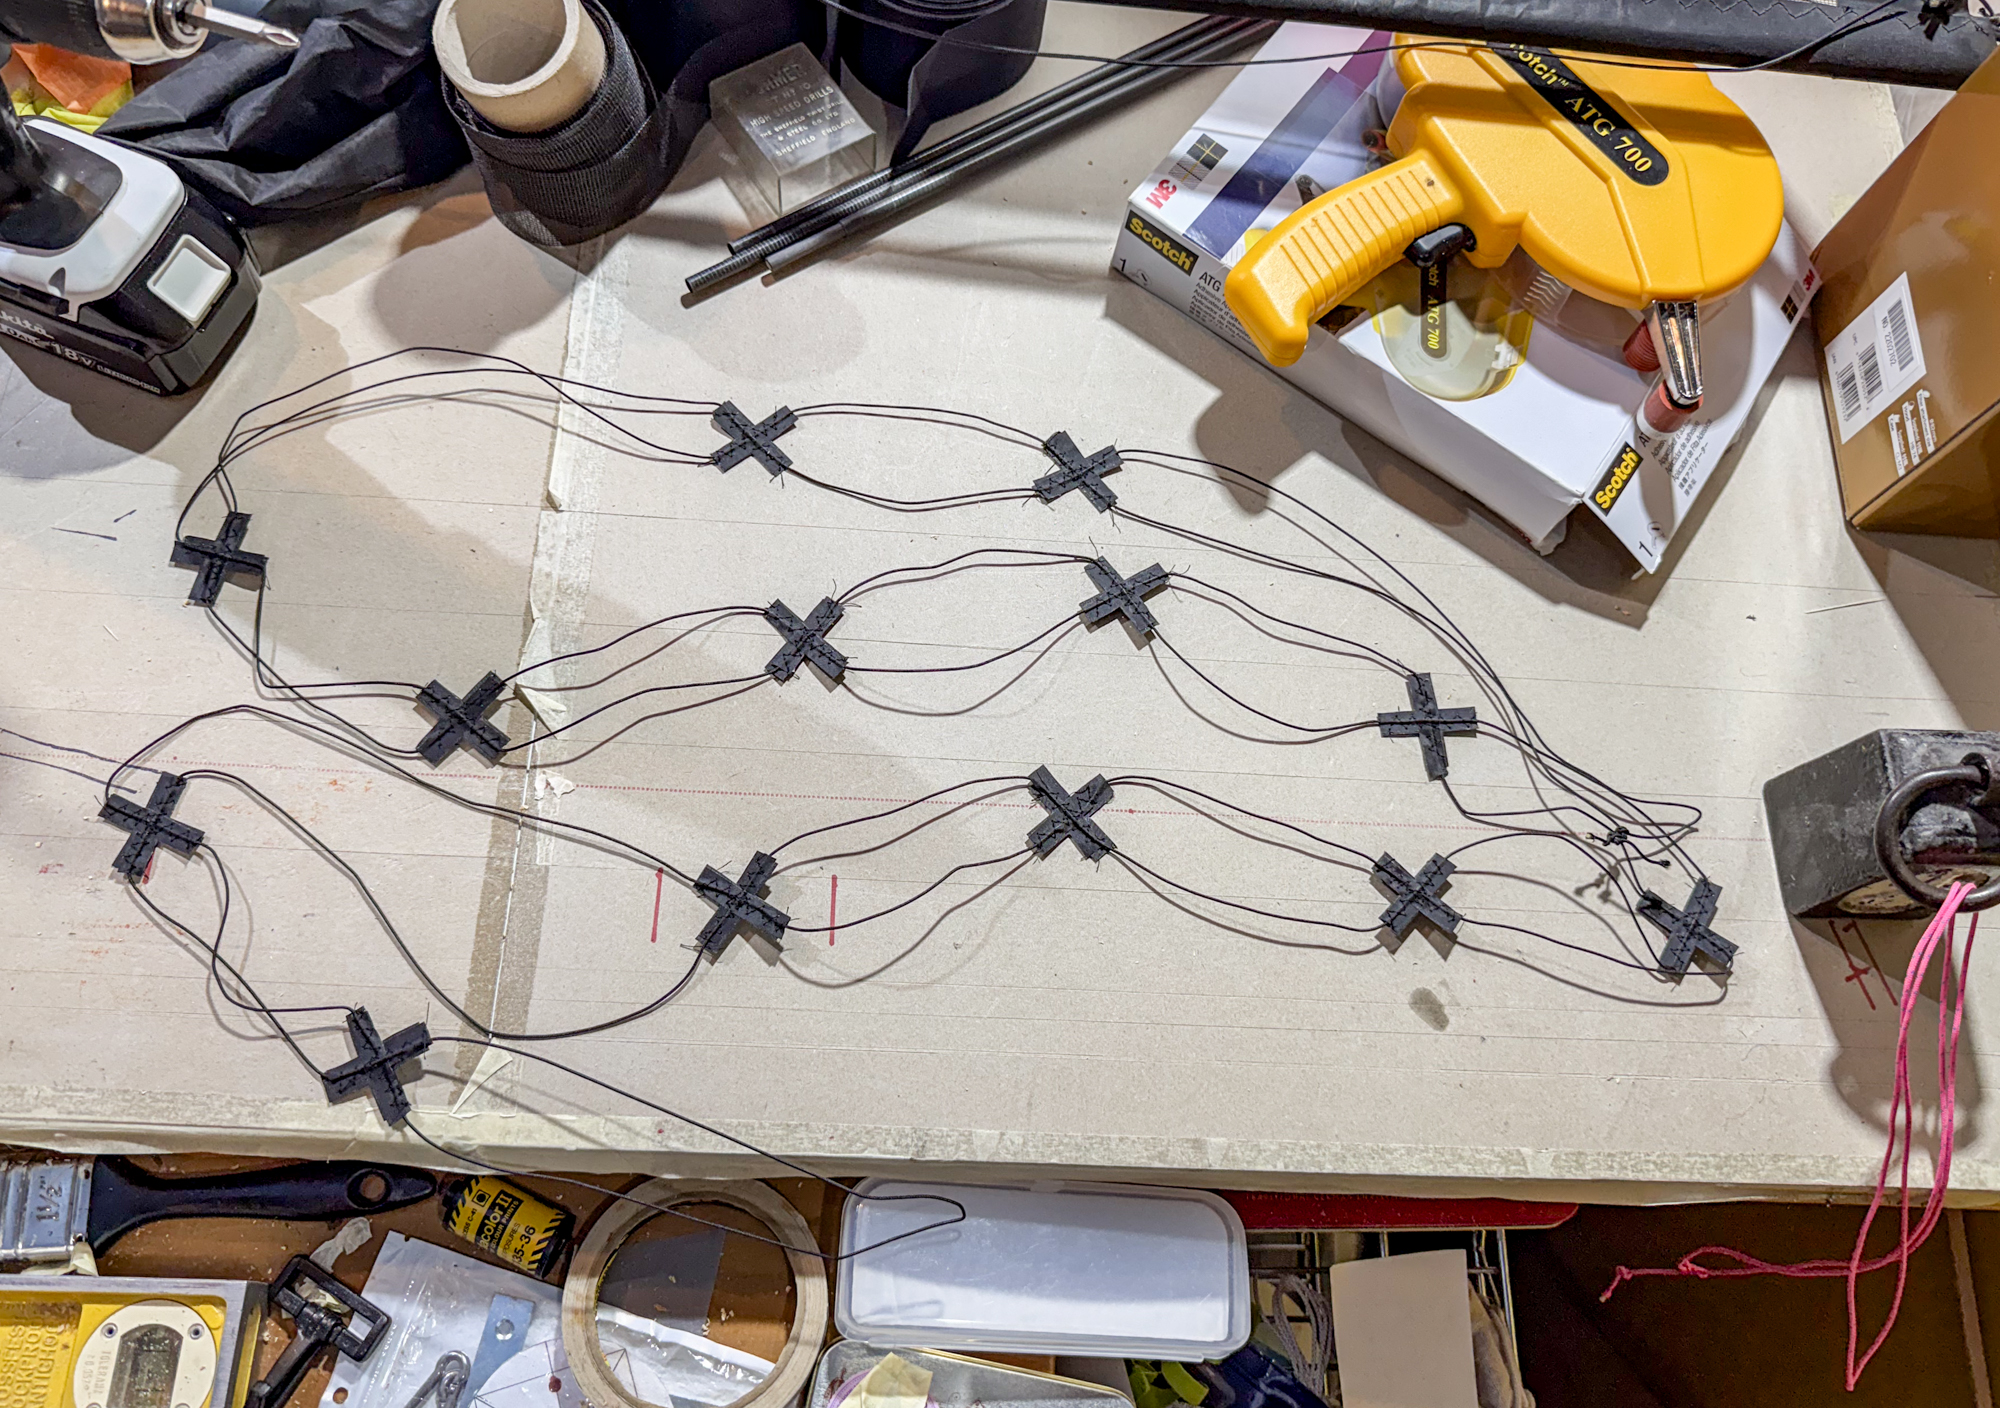
Once the sewing was done and loose ends trimmed the line was re-applied to the jig. The pressure on the lines was much higher than I had expected. The weights were left in place but I do not expect that there will be any stretch in the line, as such.
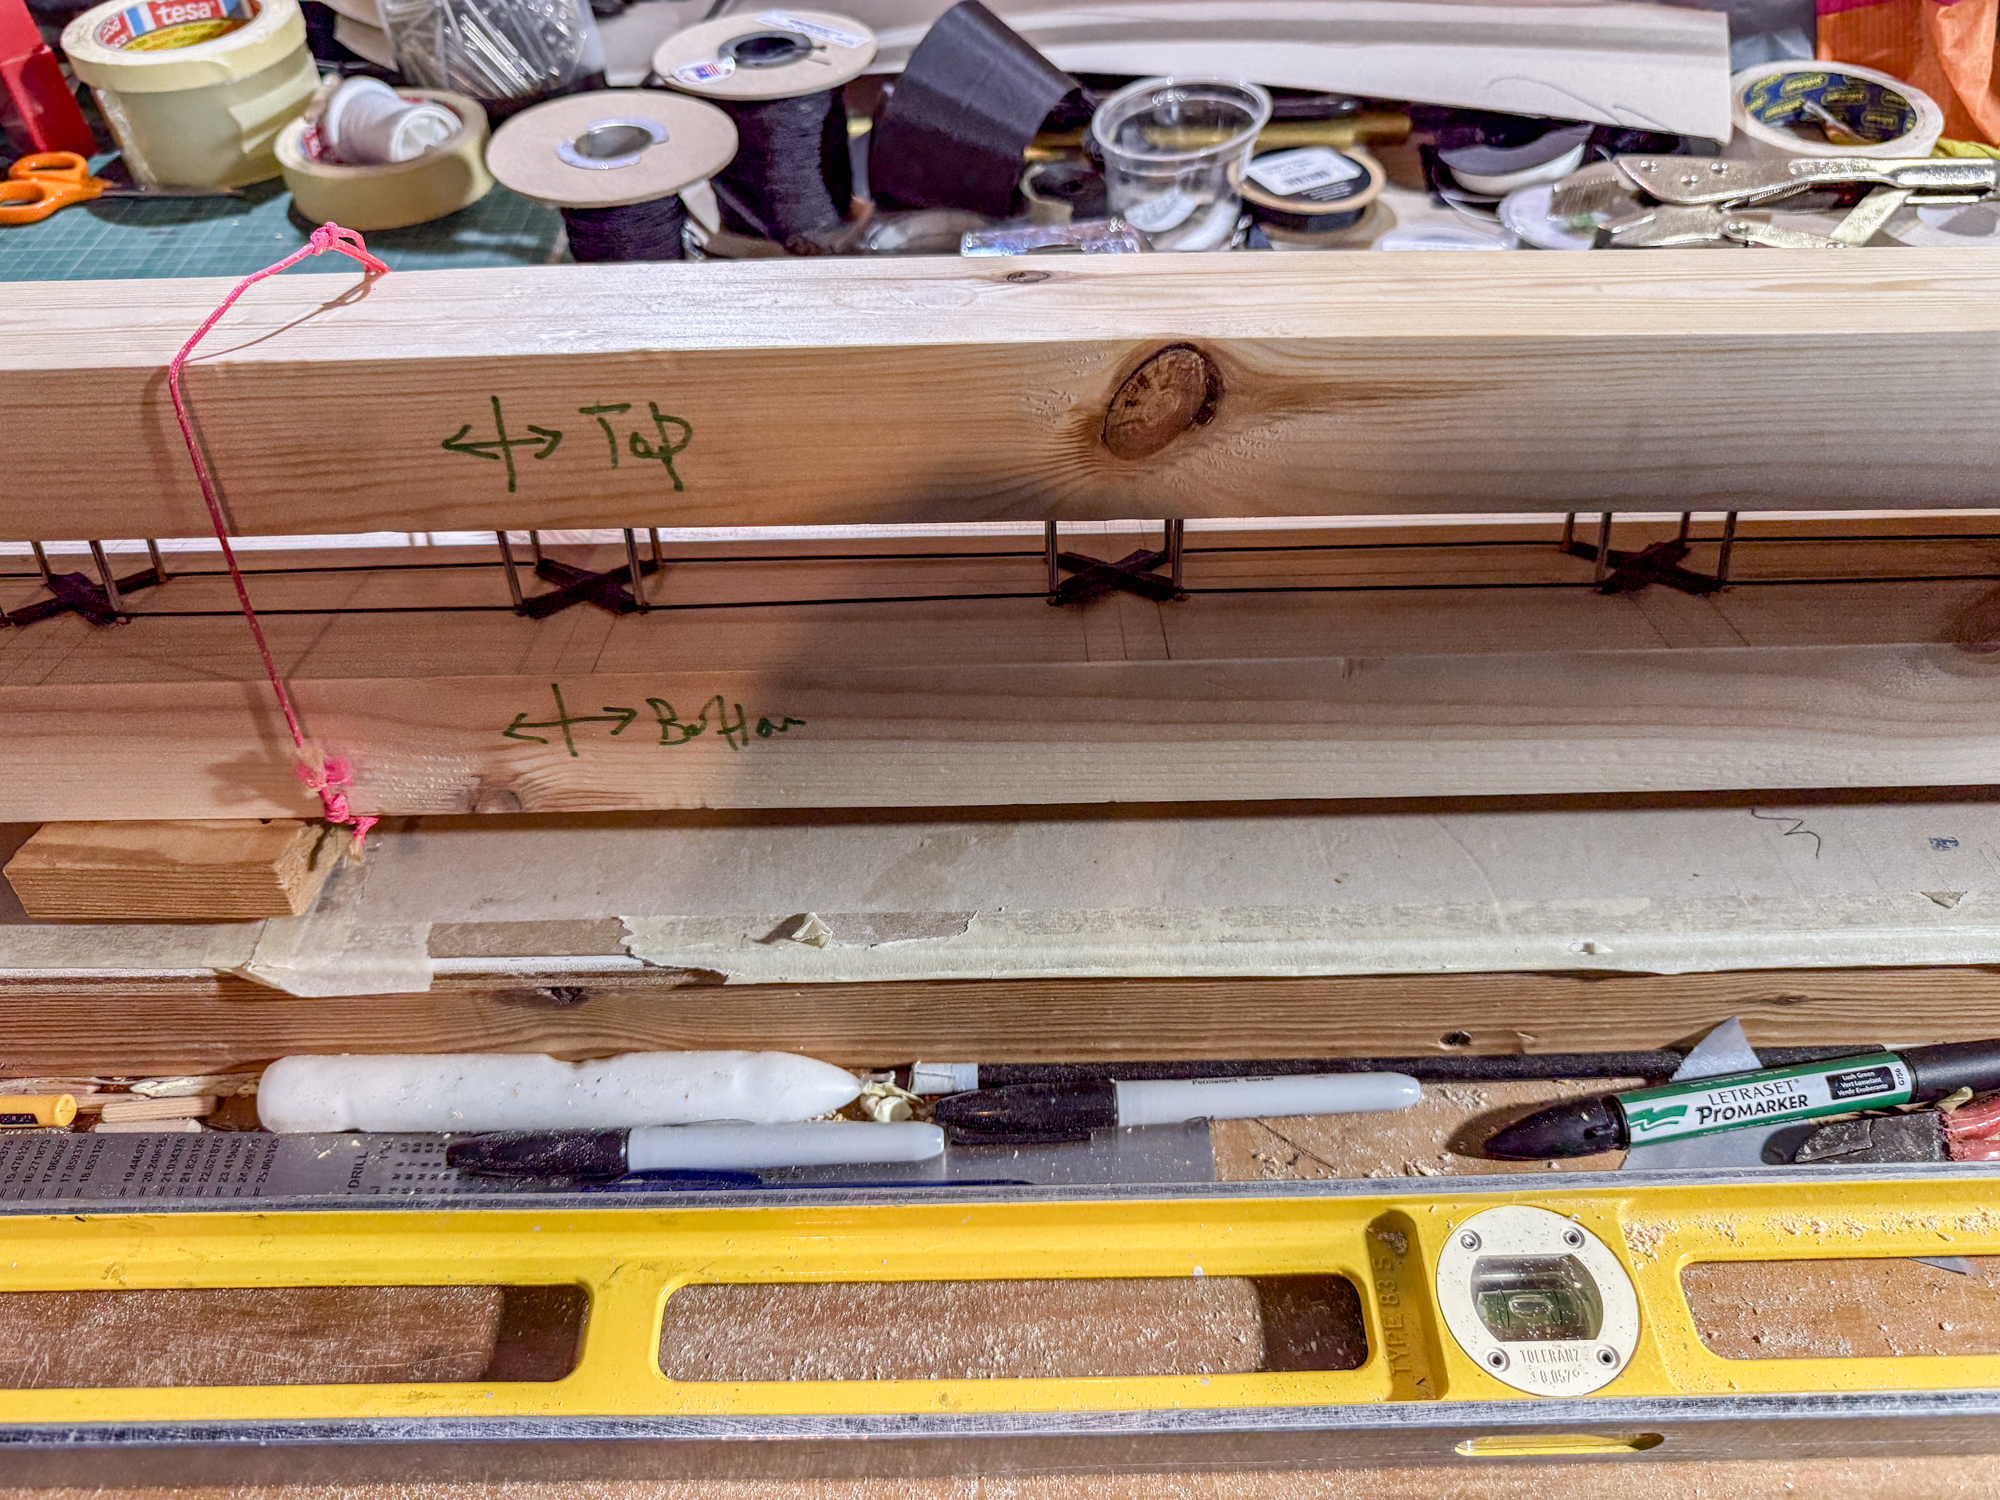
The sail was secured on the jig making sure it was centred and just slightly tensioned to pull out wrinkles. The jig top was put in place and the line assembly dropped onto the sail and secured.
The jig was then removed and the long tape elements used to finalise the position of the lines as a best effort.
I had failed to notice that the assembly had been applied to the front of the kite and not the reverse as intended.
I had failed to notice that the assembly had been applied to the front of the kite and not the reverse as intended.
This meant that there was a clear need to add in the short 4cm elements making the final sewing completely straightforwards. This was particularly important for visual continuity on the front of the sail!
The end result is reasonably neat but the width of the dacron X elements may be increased just slightly so that there is no lightspace within the X shape and that the tips are fully engaged with the main final sewing line.
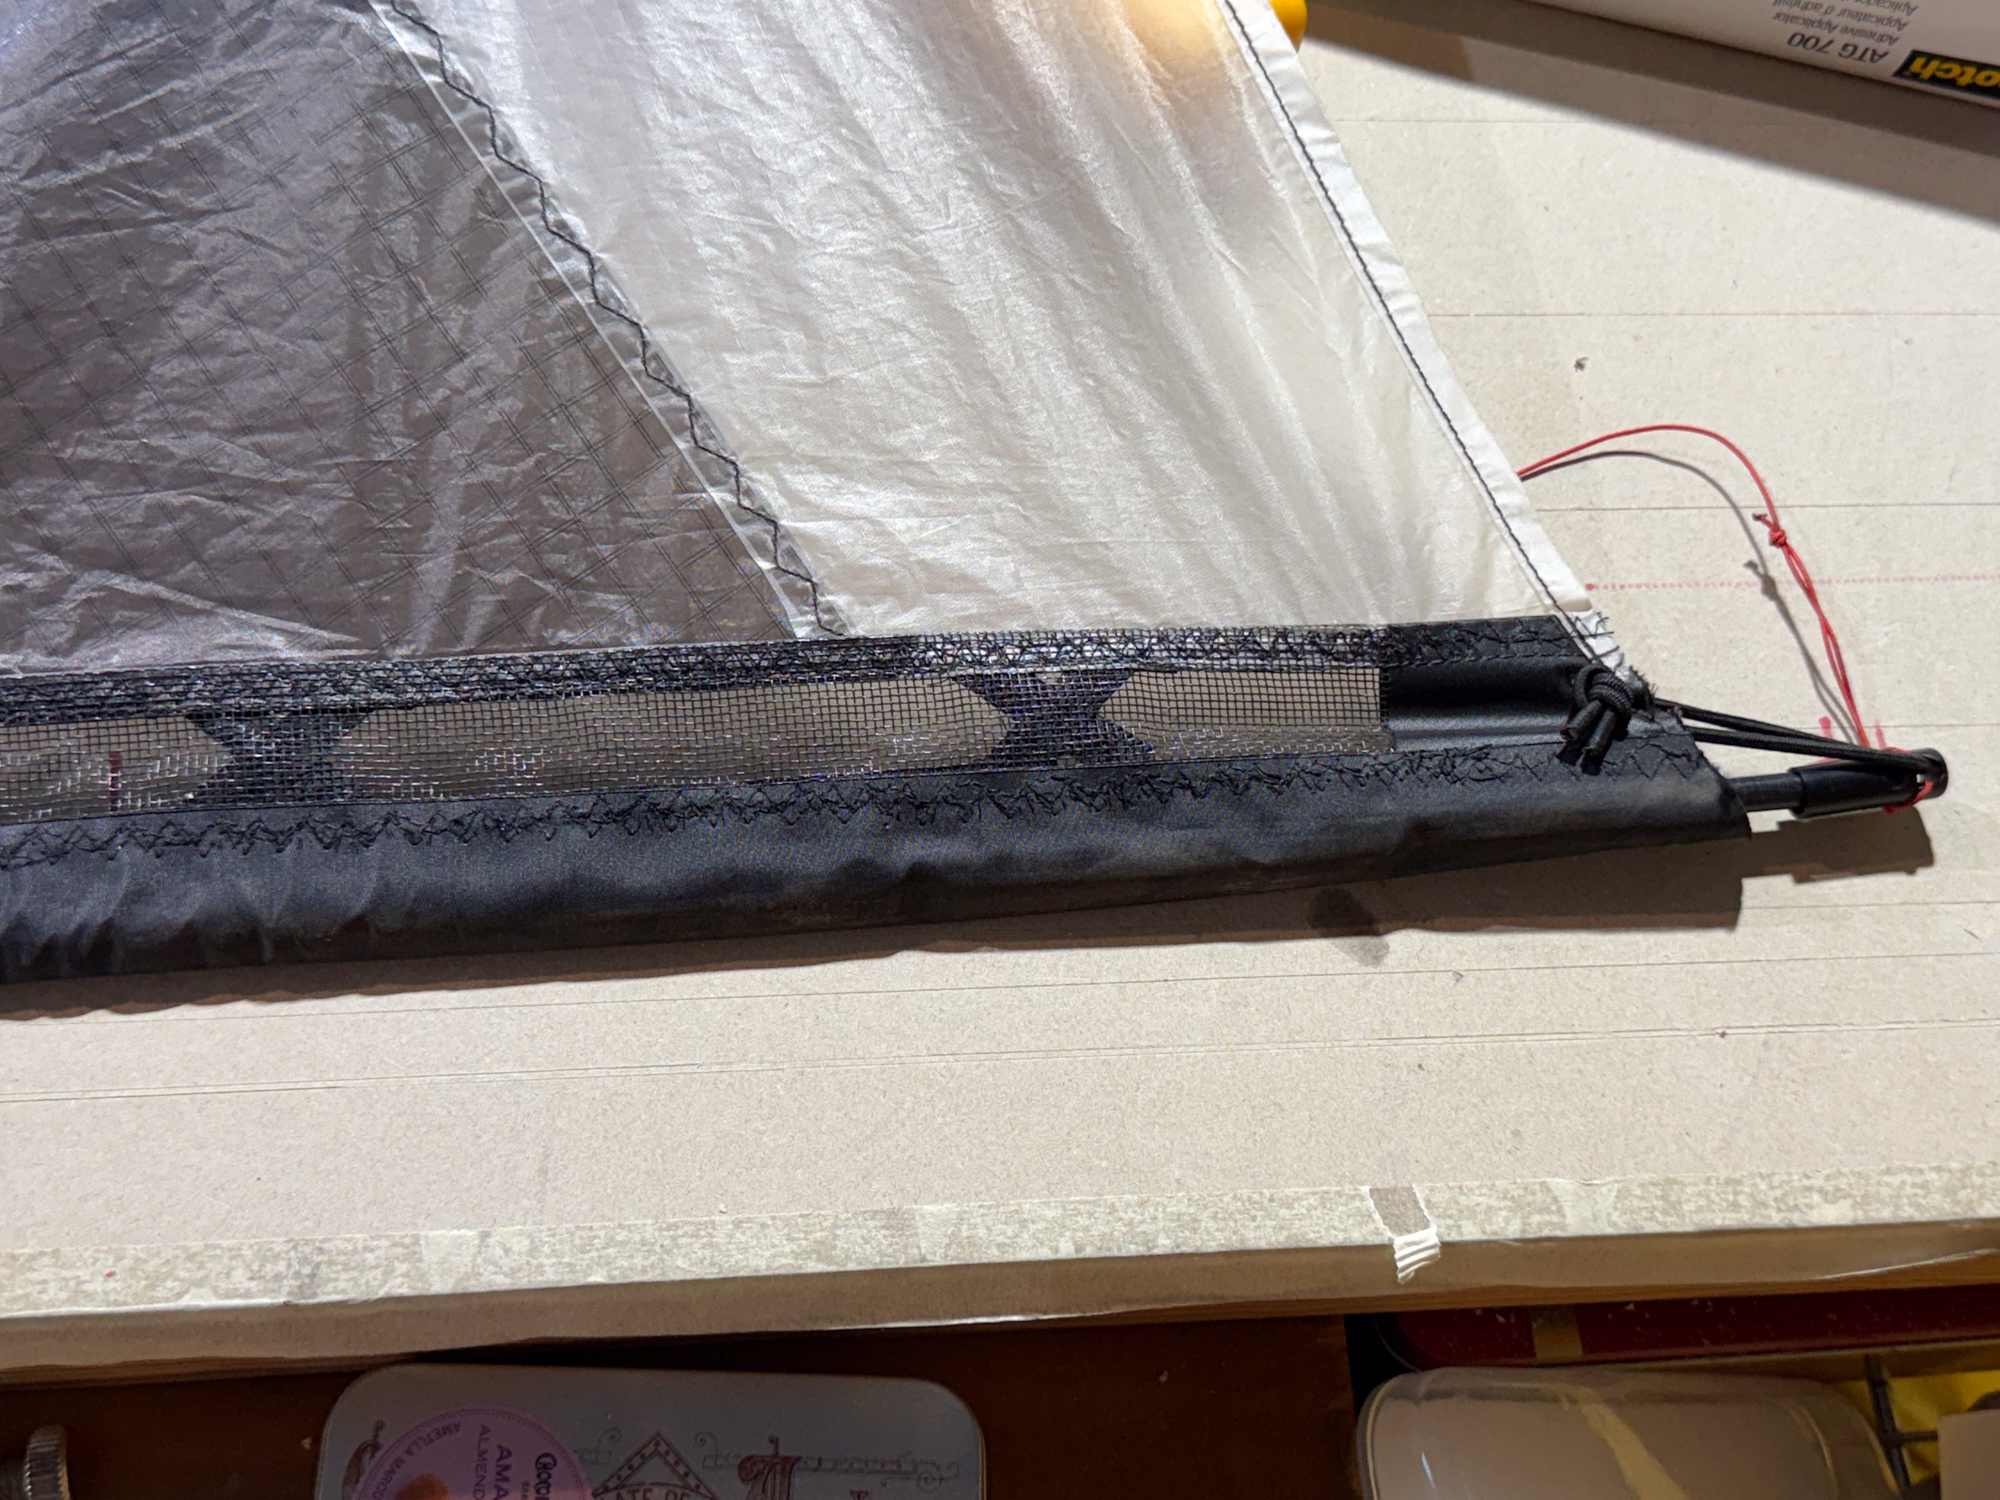
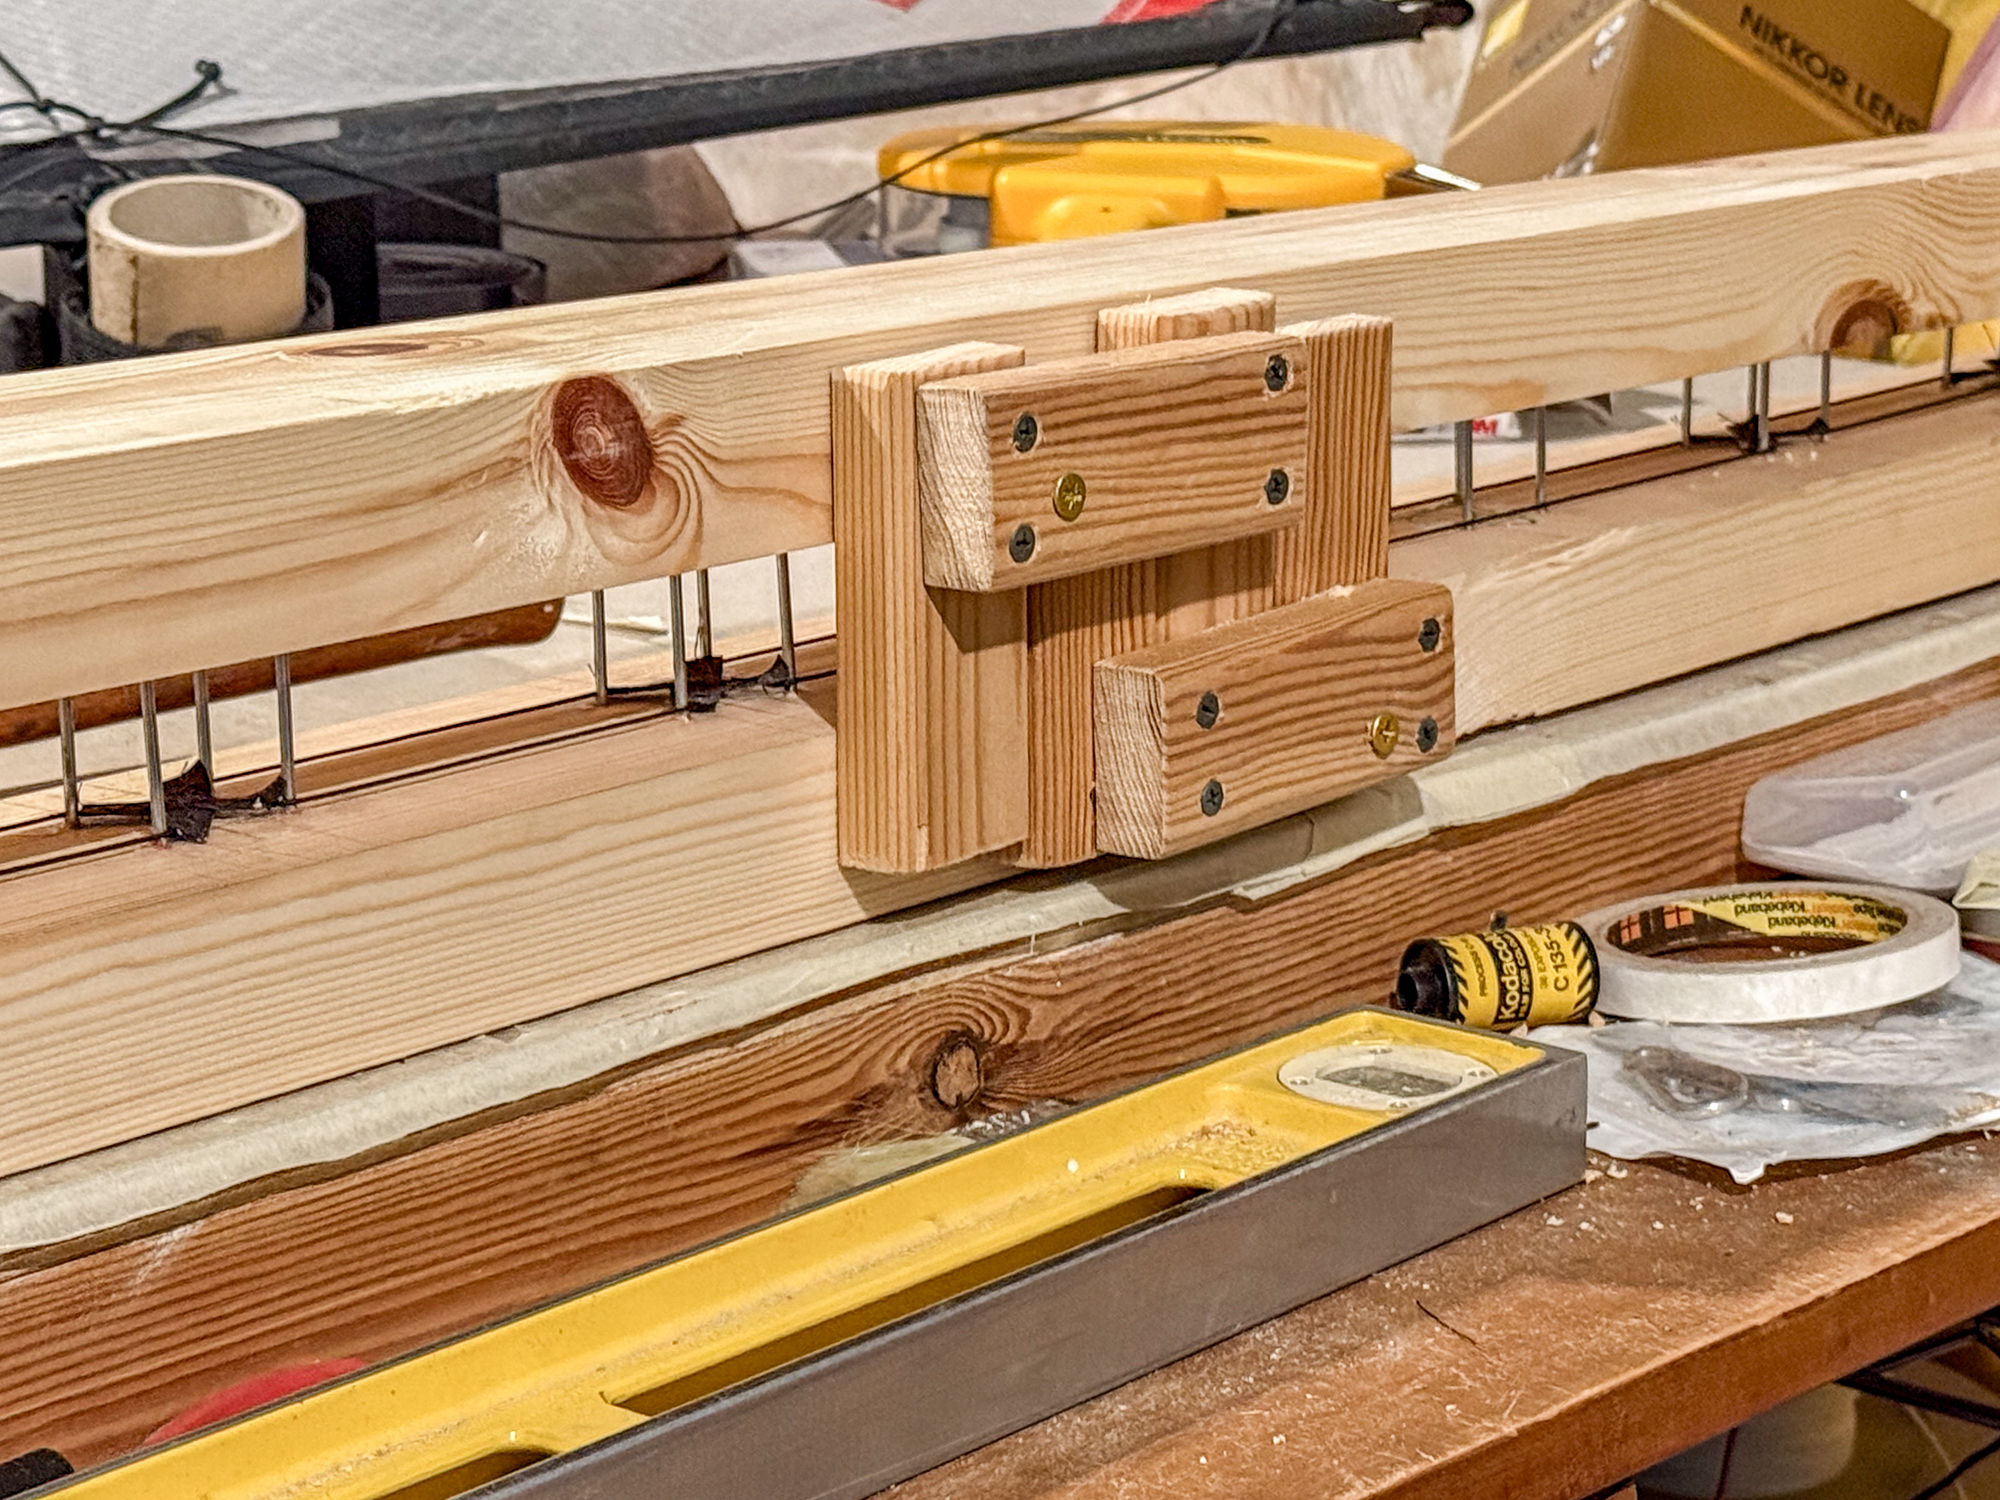
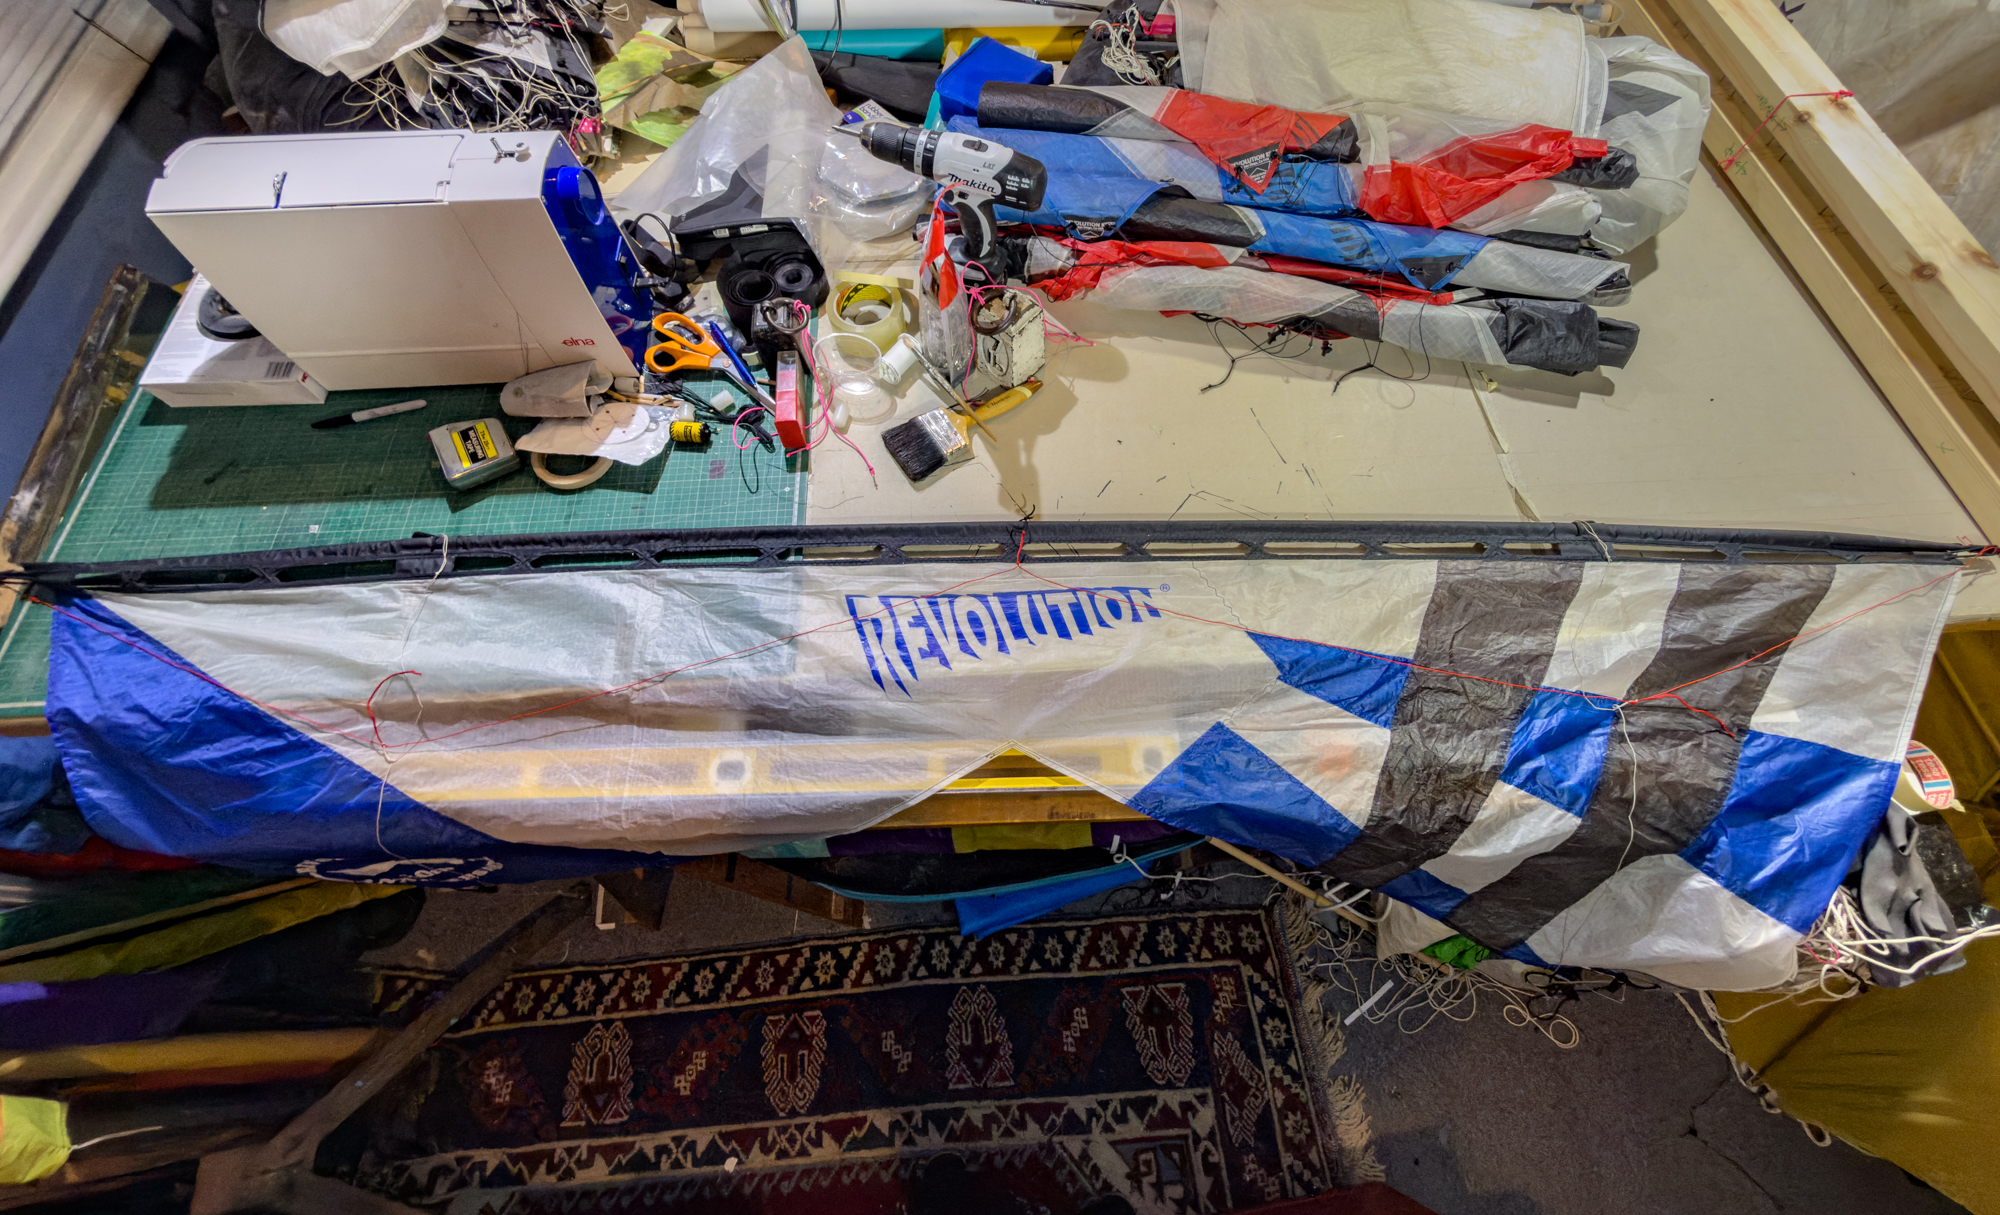
The bridle lines were re-set and it was noticed that the horizontal pressure on this sail was causing compression of the mesh in the last cell either end.
I think that this compression 'feature' has been seen elsewhere and is due to the anchor angle of the end bungees.
I think that this compression 'feature' has been seen elsewhere and is due to the anchor angle of the end bungees.
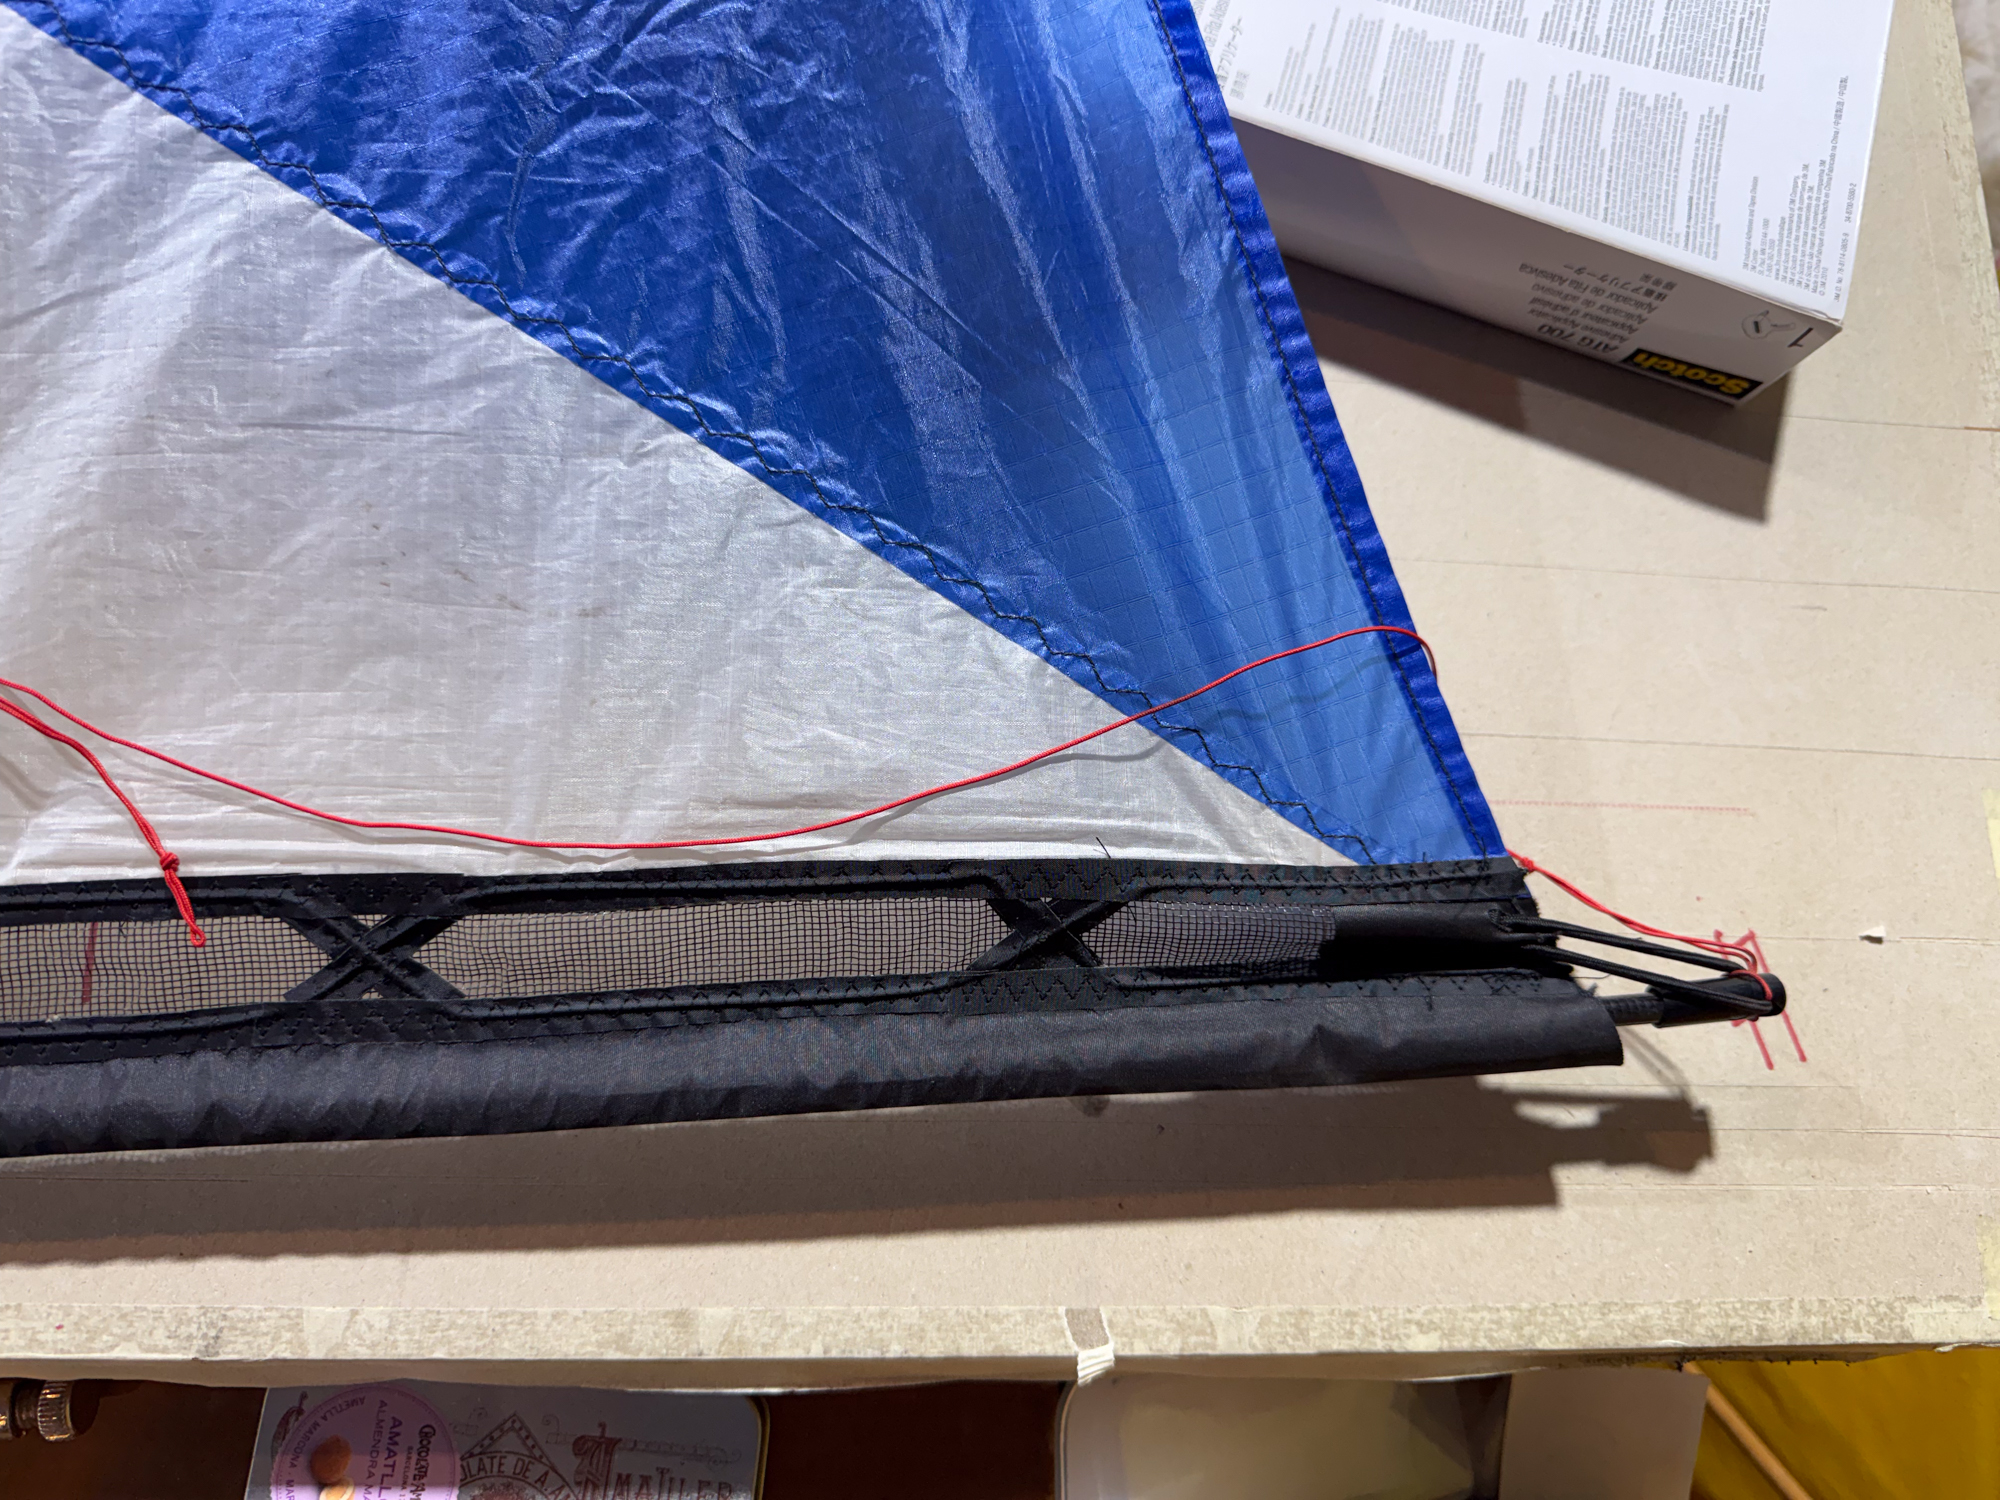
There was no indication of pressure or lack of it on the mesh elsewhere. The plan is to fly the kite with the mesh in place first and then remove it to see how the kite compares, if possible.
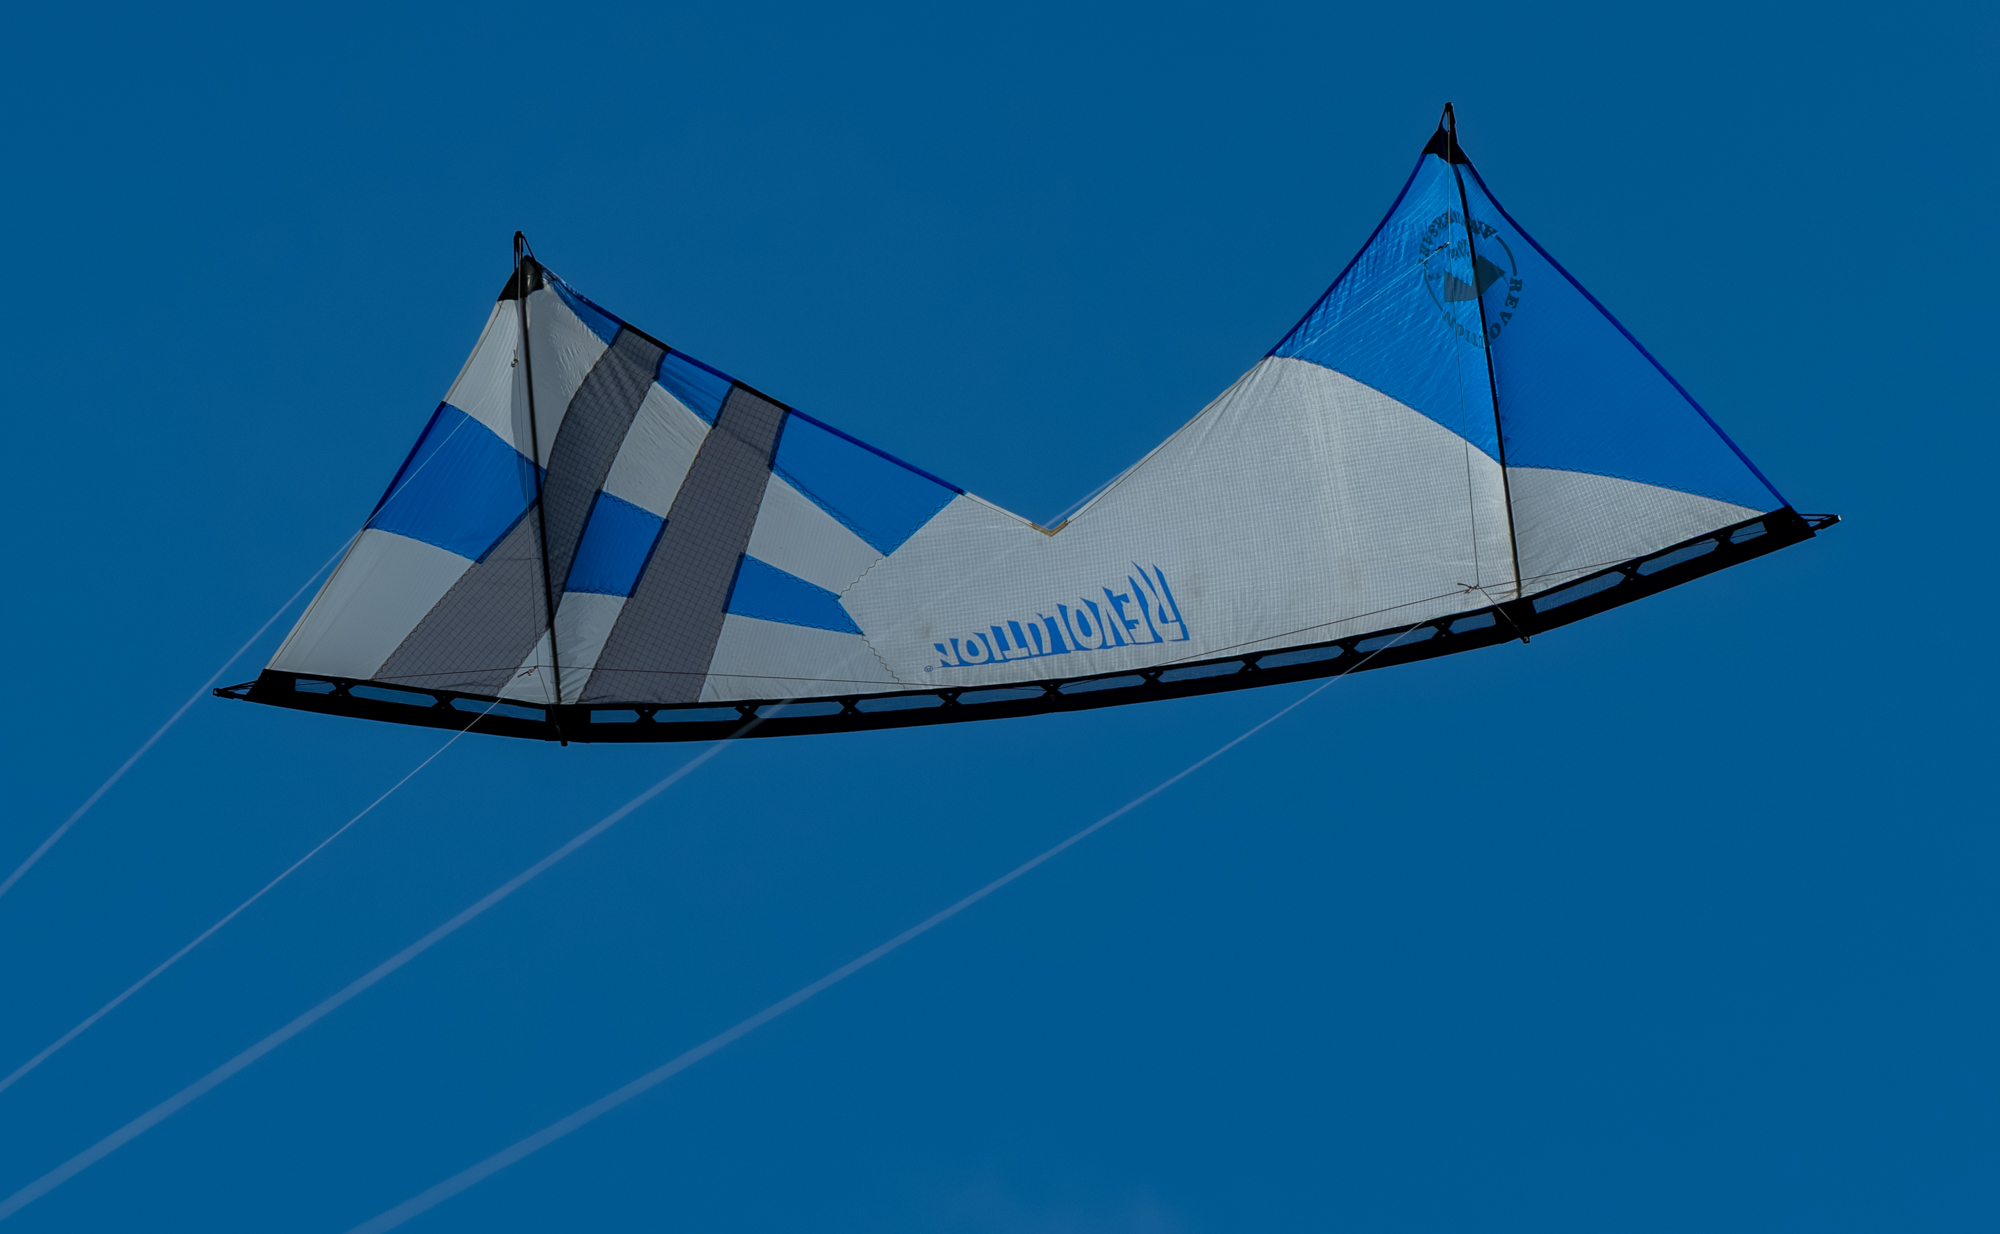
The kite was set up and flown on Sunday 2nd November just to make sure that there were no apparent issues with the additional elements.
It was c10mph so not a comfortable wind speed really but in the circumstances stressing the sail and leading edge was just what was needed.
It was c10mph so not a comfortable wind speed really but in the circumstances stressing the sail and leading edge was just what was needed.

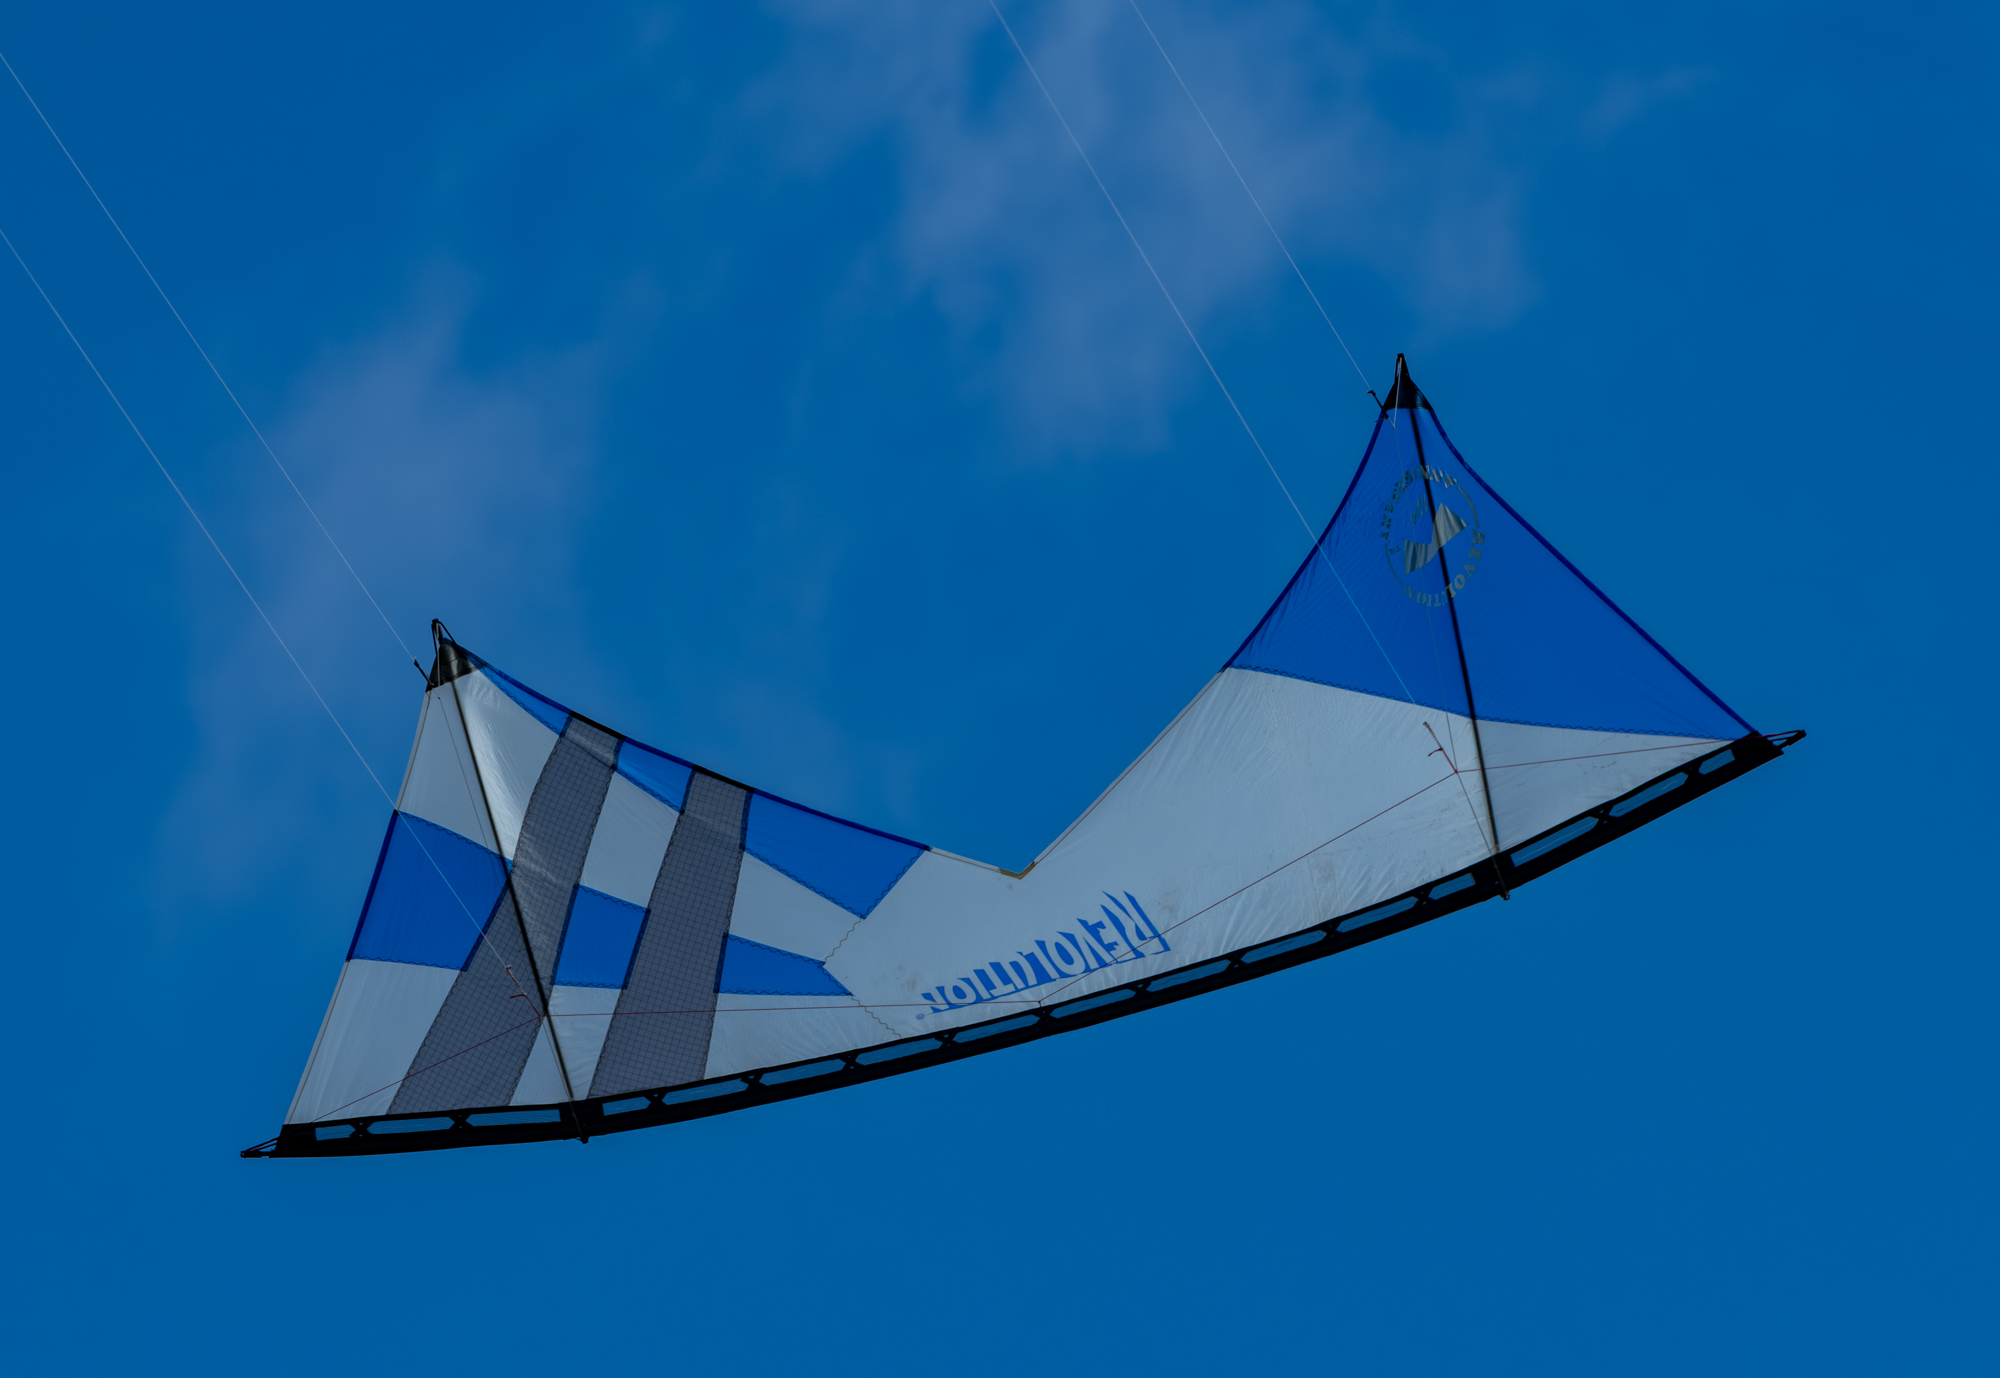
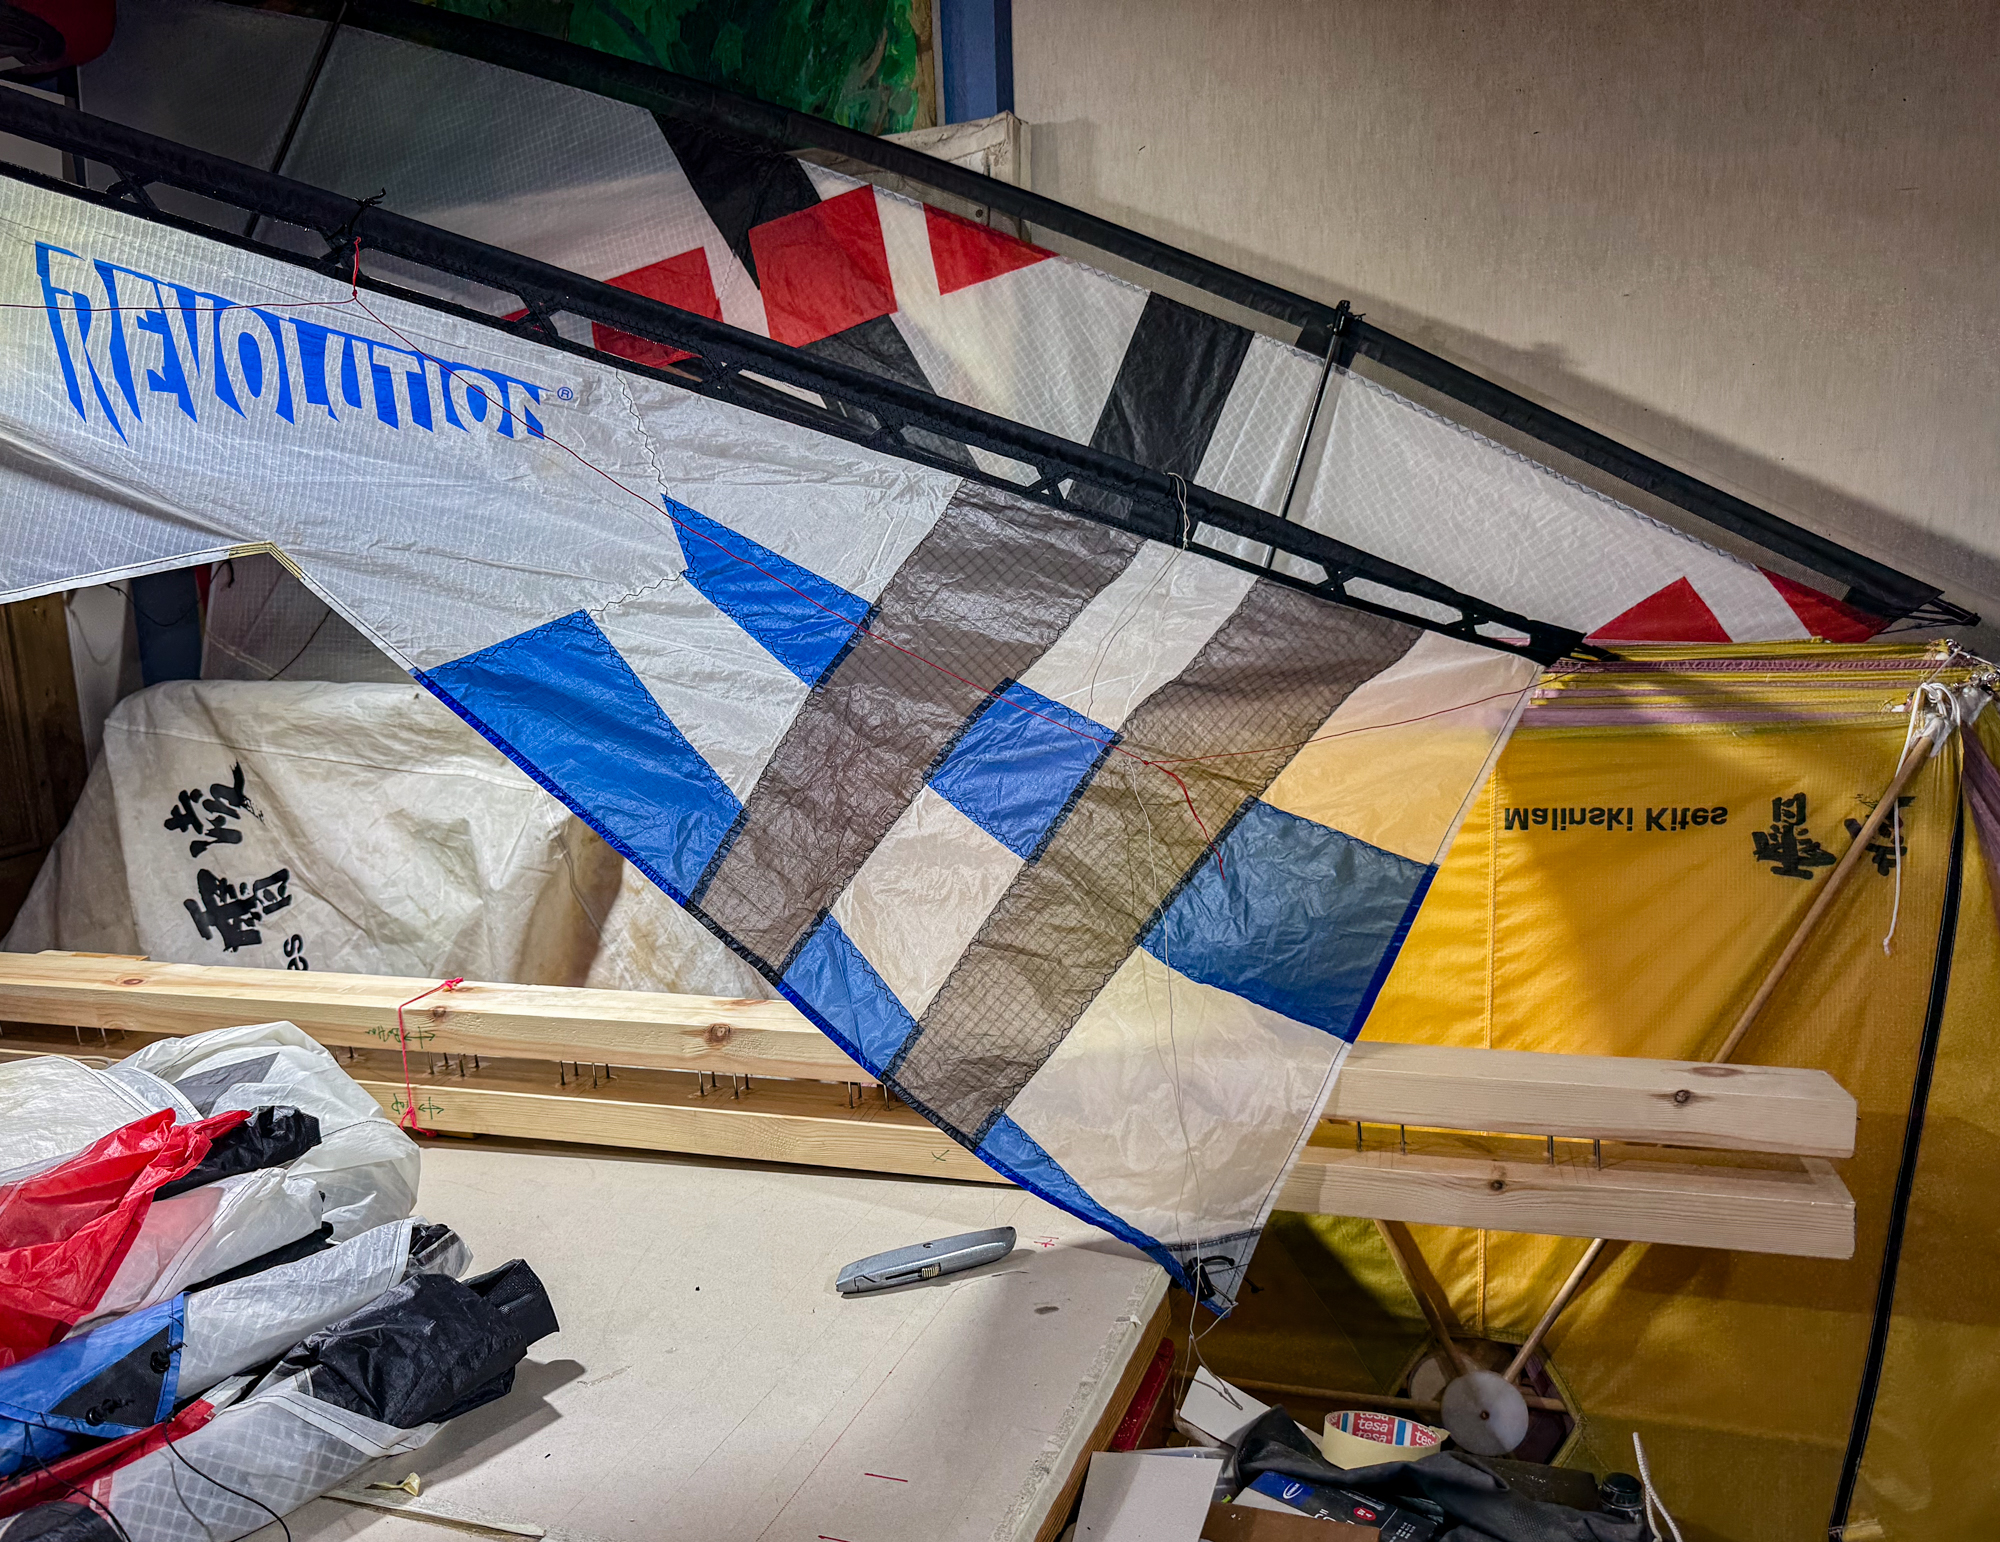
All seemed well so the kite was landed and the mesh cut through in all segments.
This might have seemed a bit drastic but the images show that there was very little, if any, 'pulling apart' where the sail was no longer directly supported.
This might have seemed a bit drastic but the images show that there was very little, if any, 'pulling apart' where the sail was no longer directly supported.
The mesh did feel very fragile when being cut with scissors, a complete contrast to the sleeved kevlar replacement.
I think that the change in the actual sail configuration is small enough to be of no real concern in terms of the overall performance of the kites.
I think that the change in the actual sail configuration is small enough to be of no real concern in terms of the overall performance of the kites.
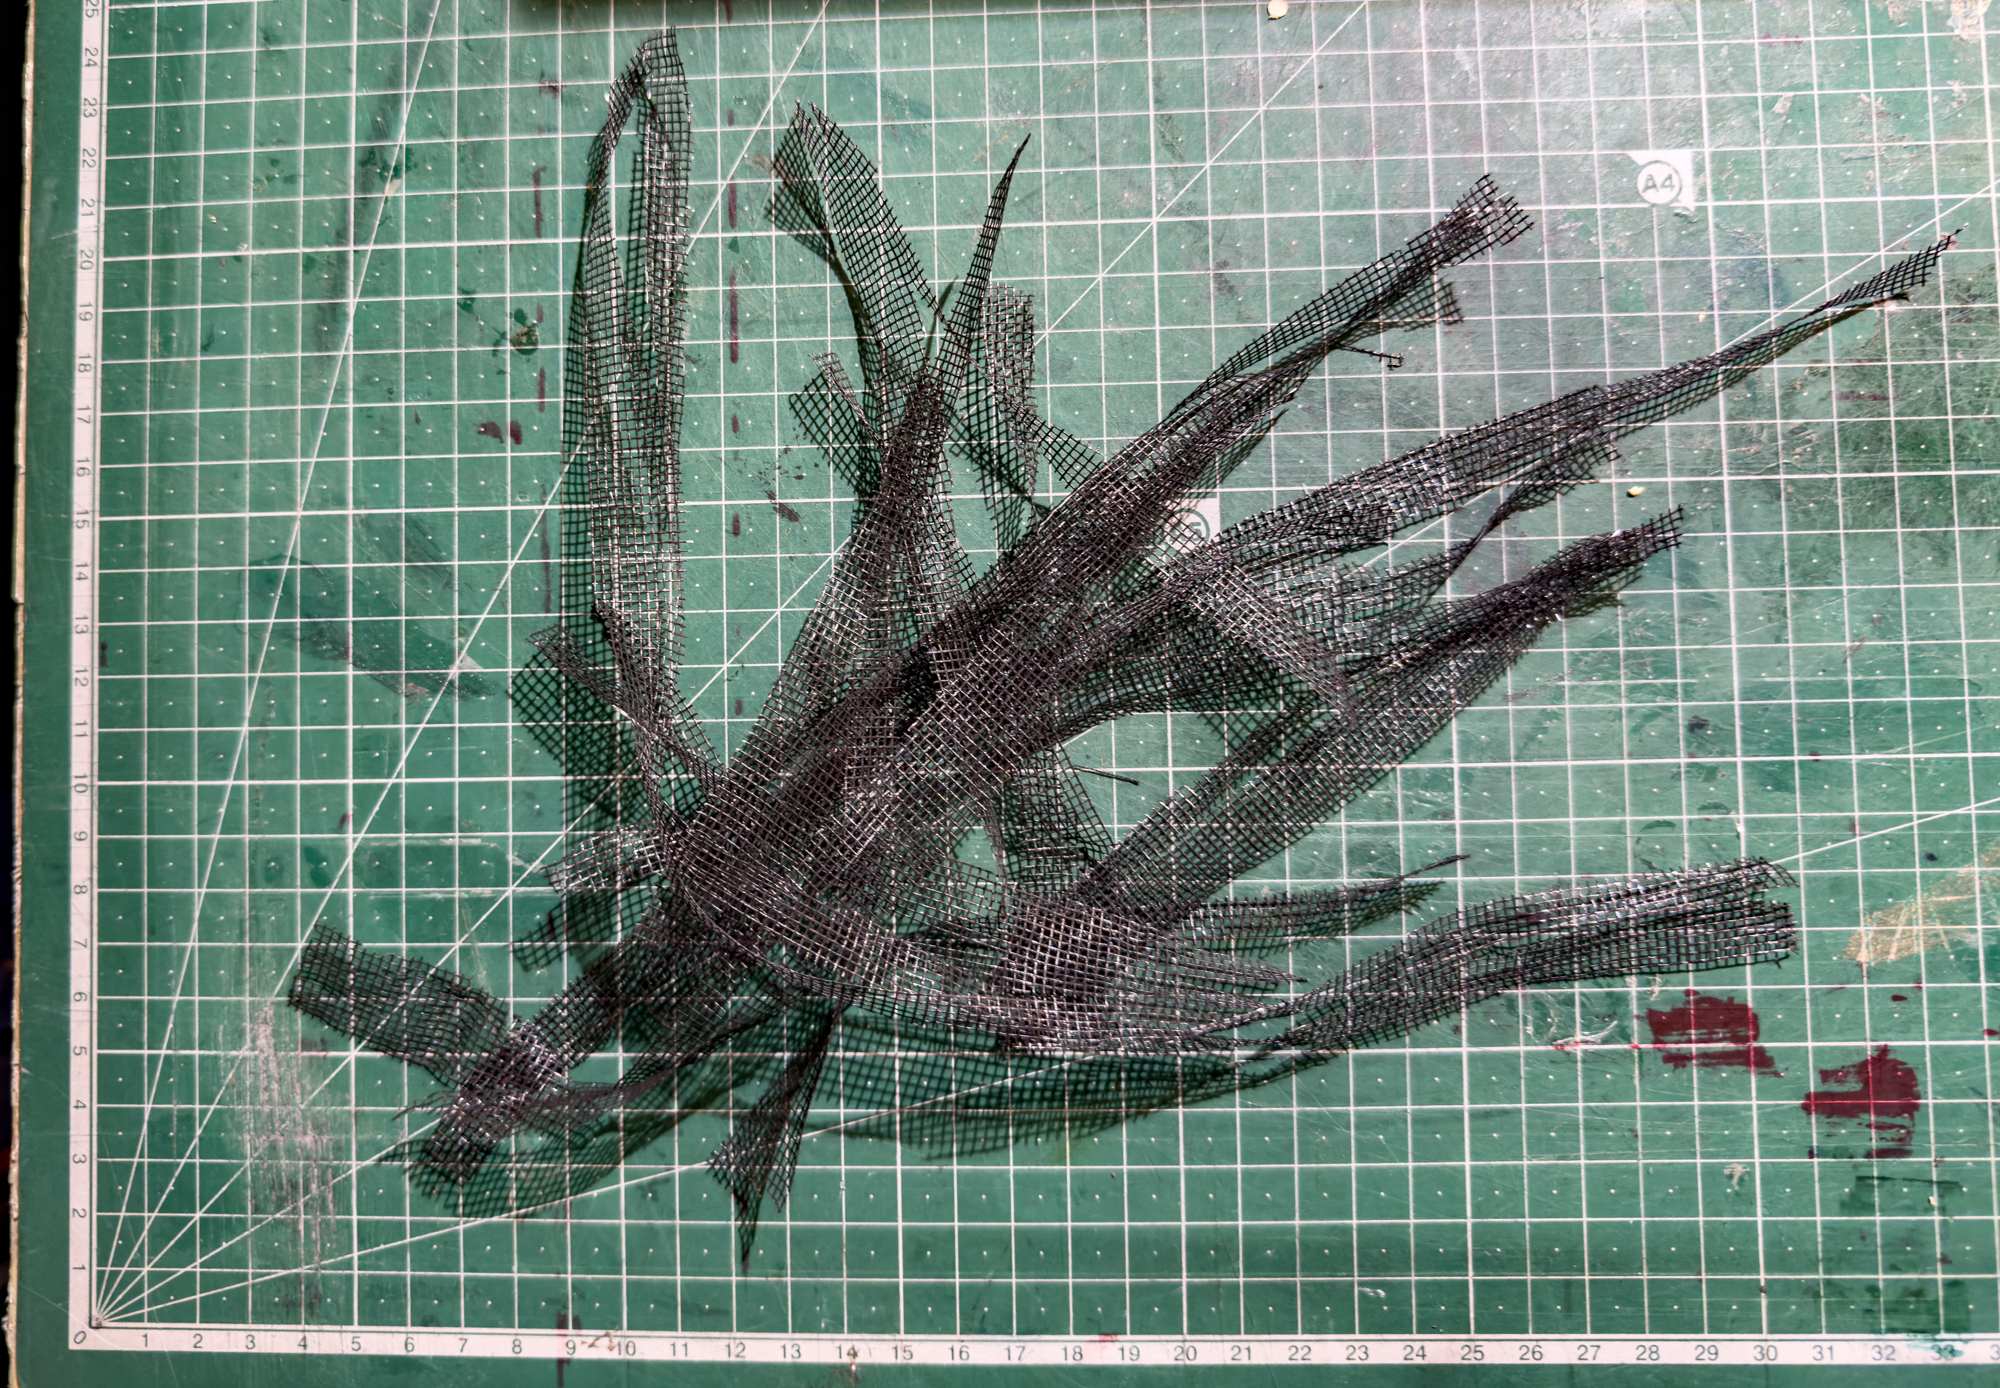
The mesh elements were removed.

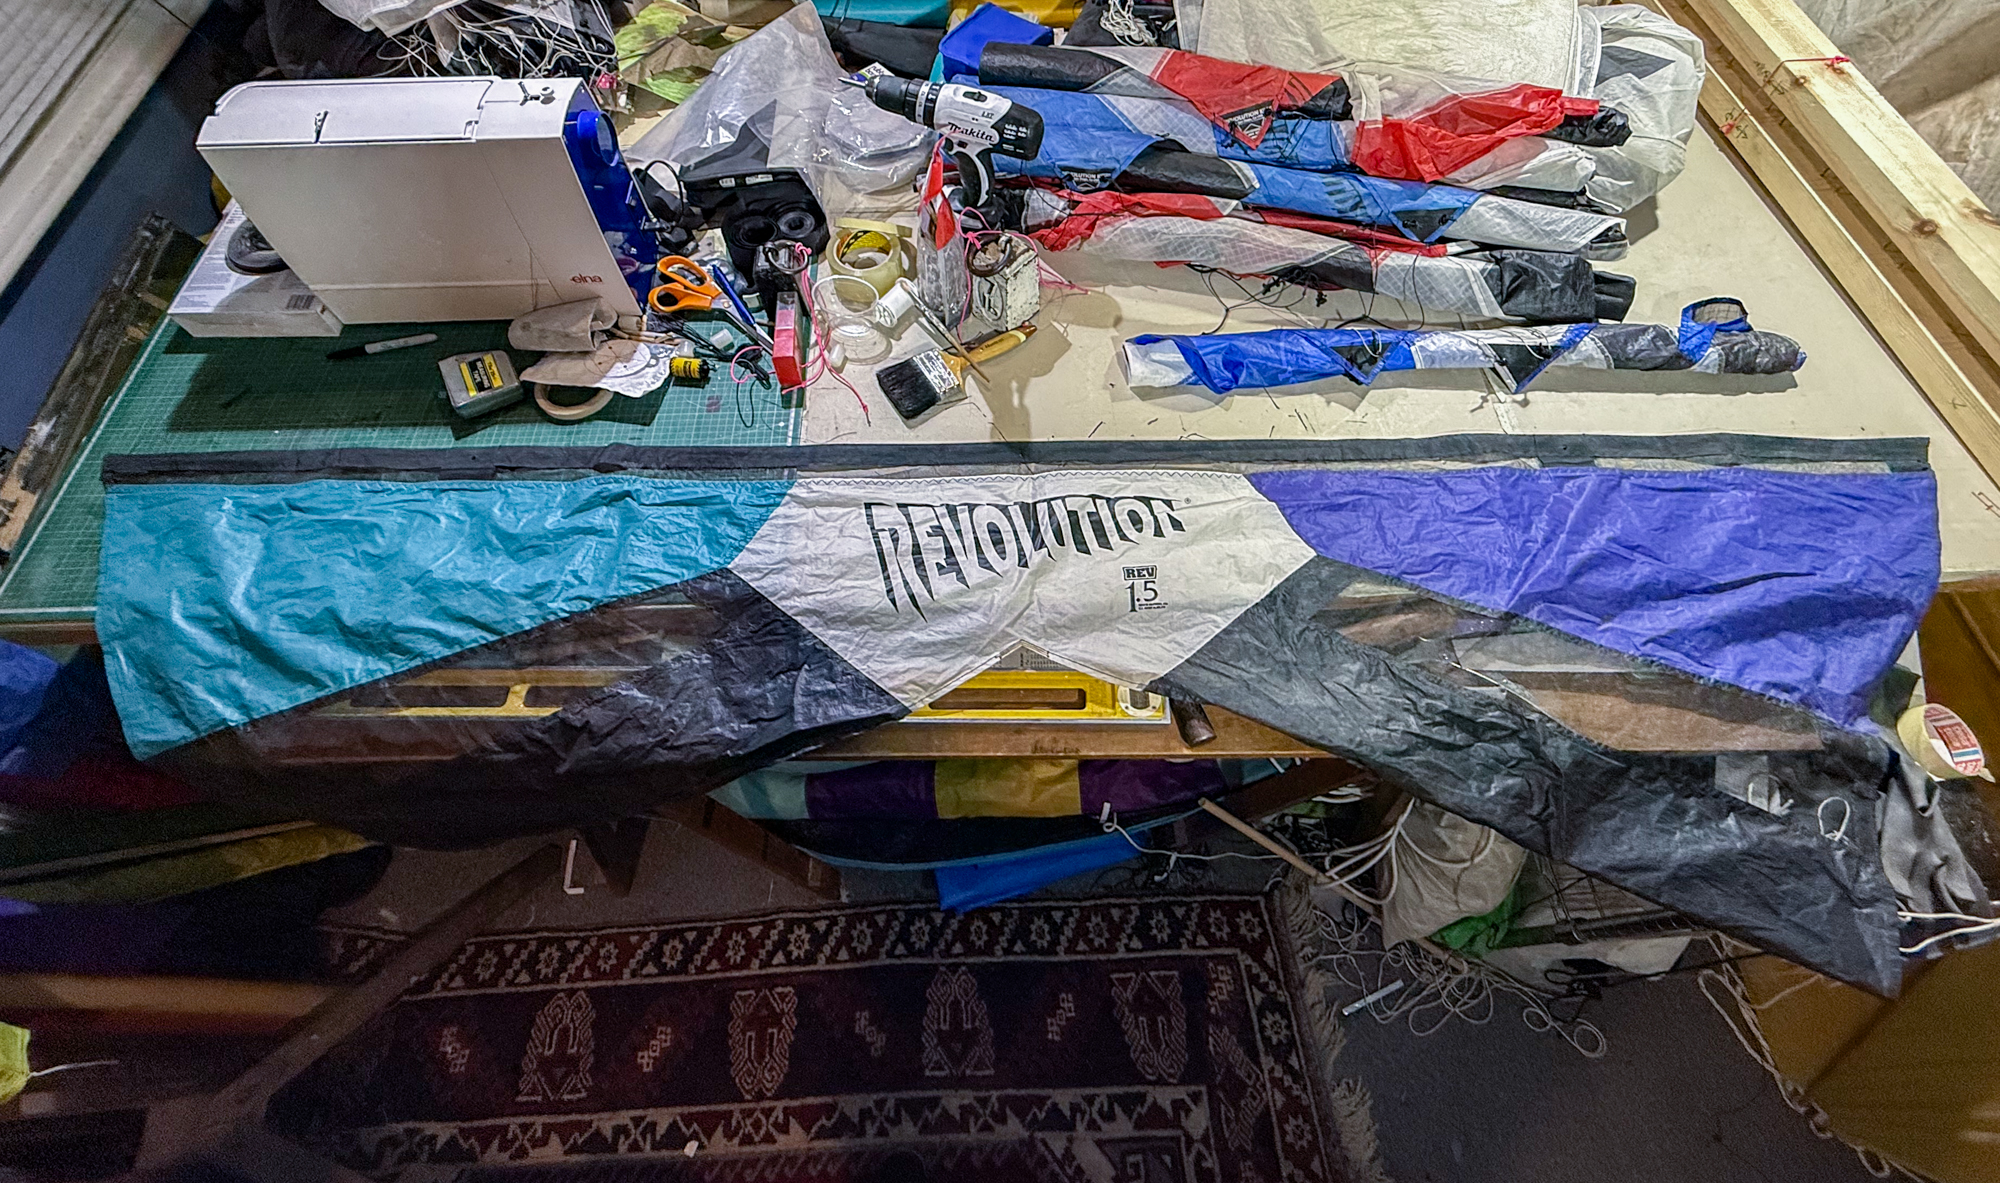
There was a chance to look at the details before proceeding with the next 'trial' sail which is one where the mesh has been partly re-sewn but then failed extensively.
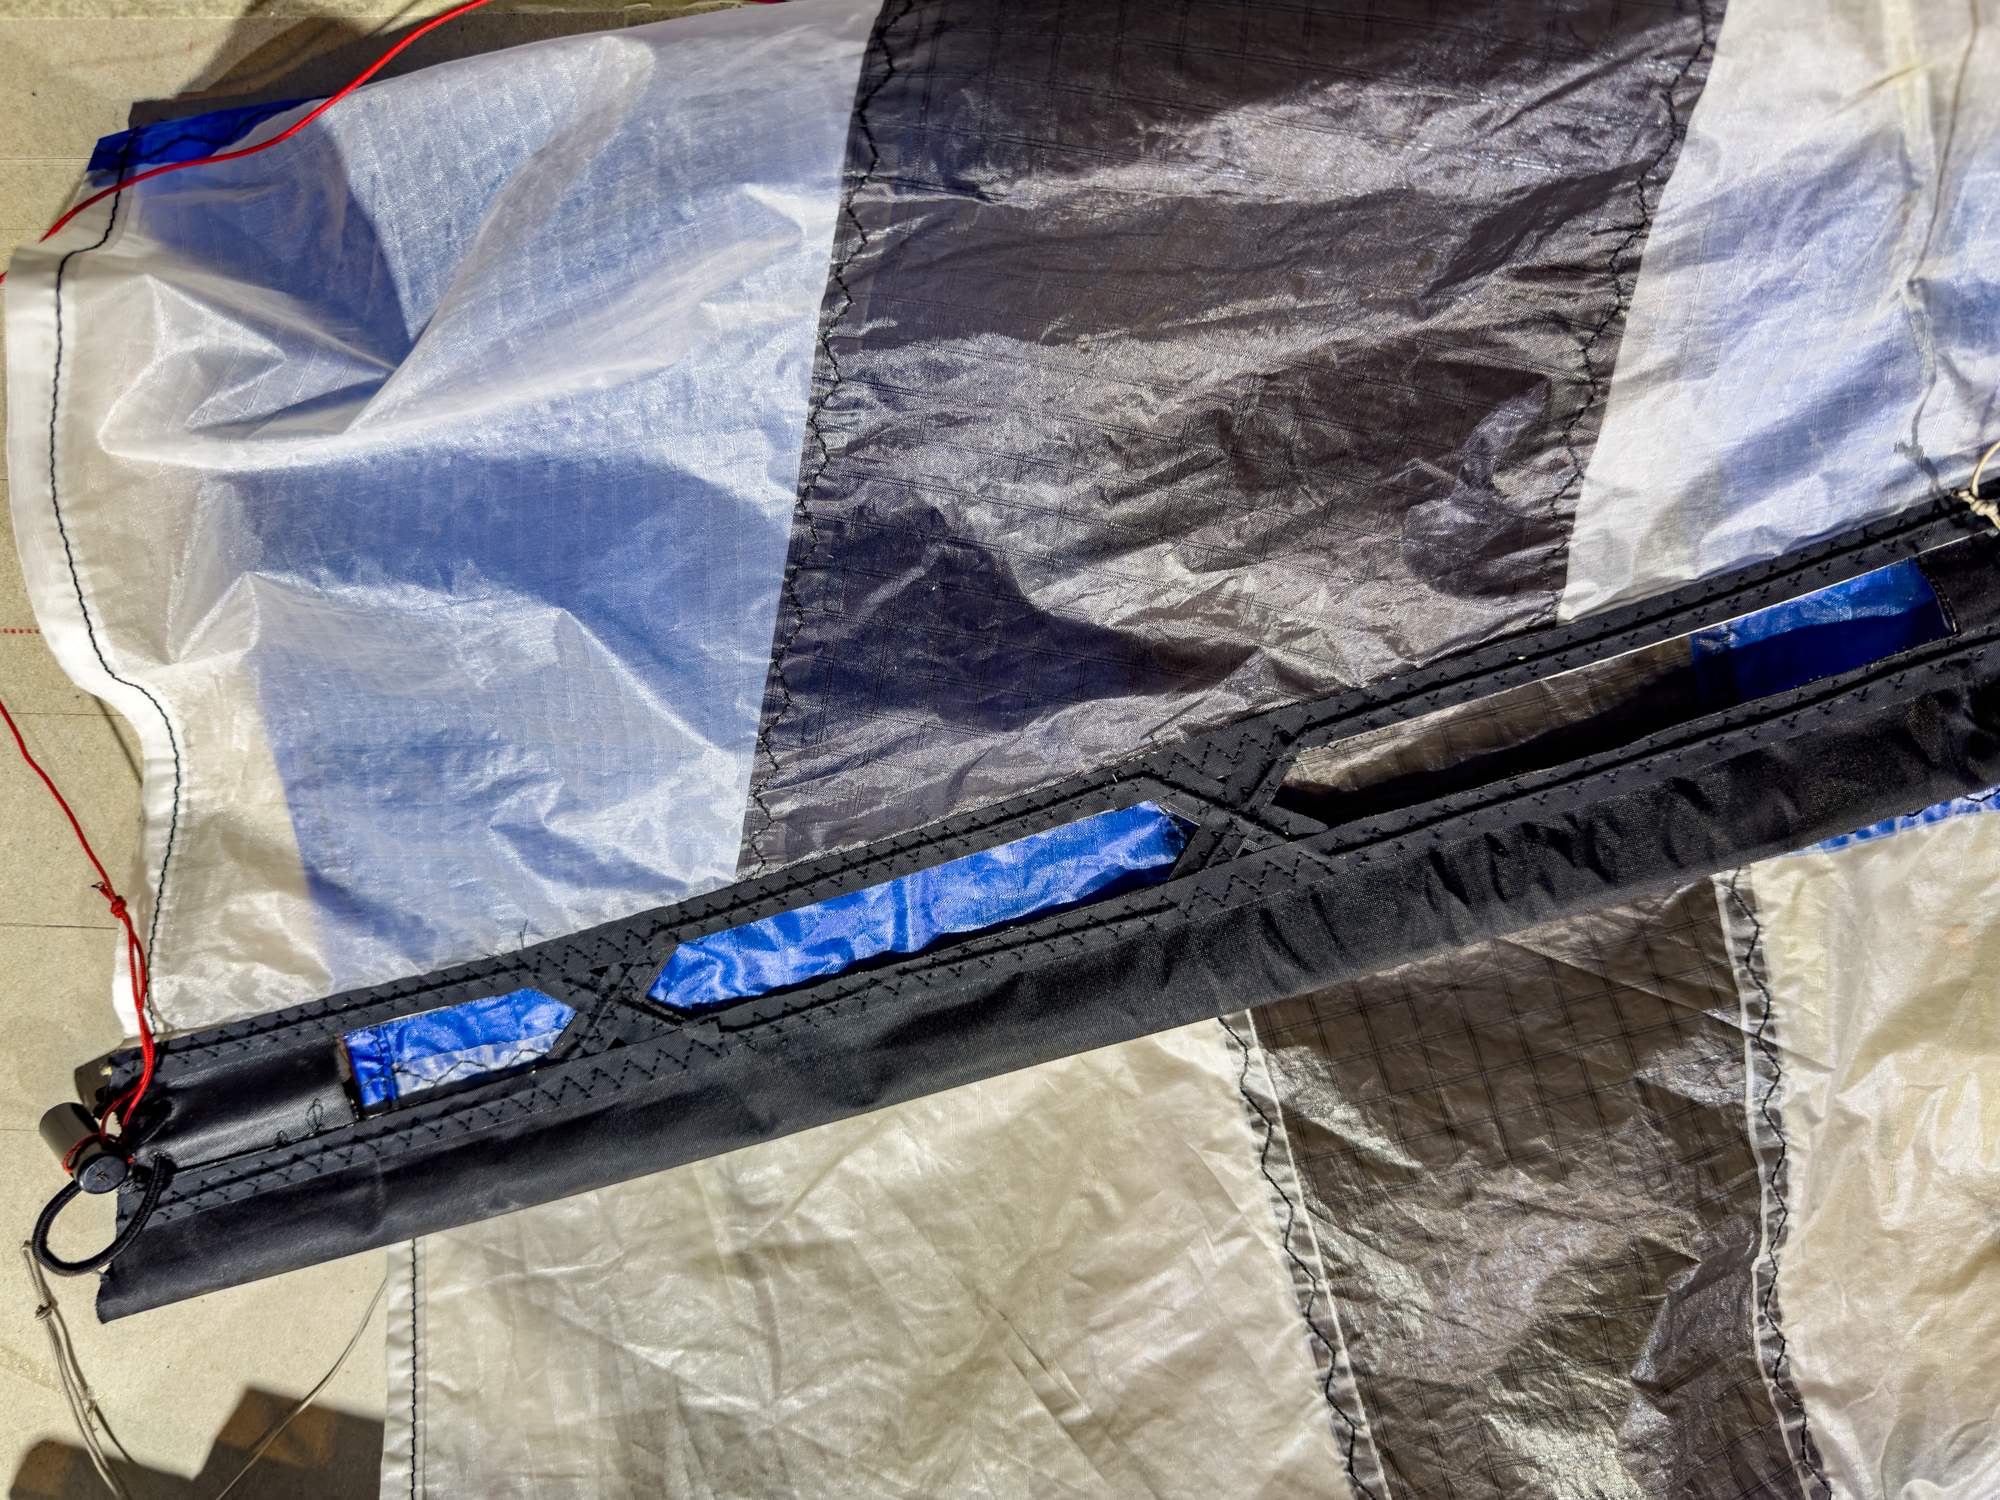
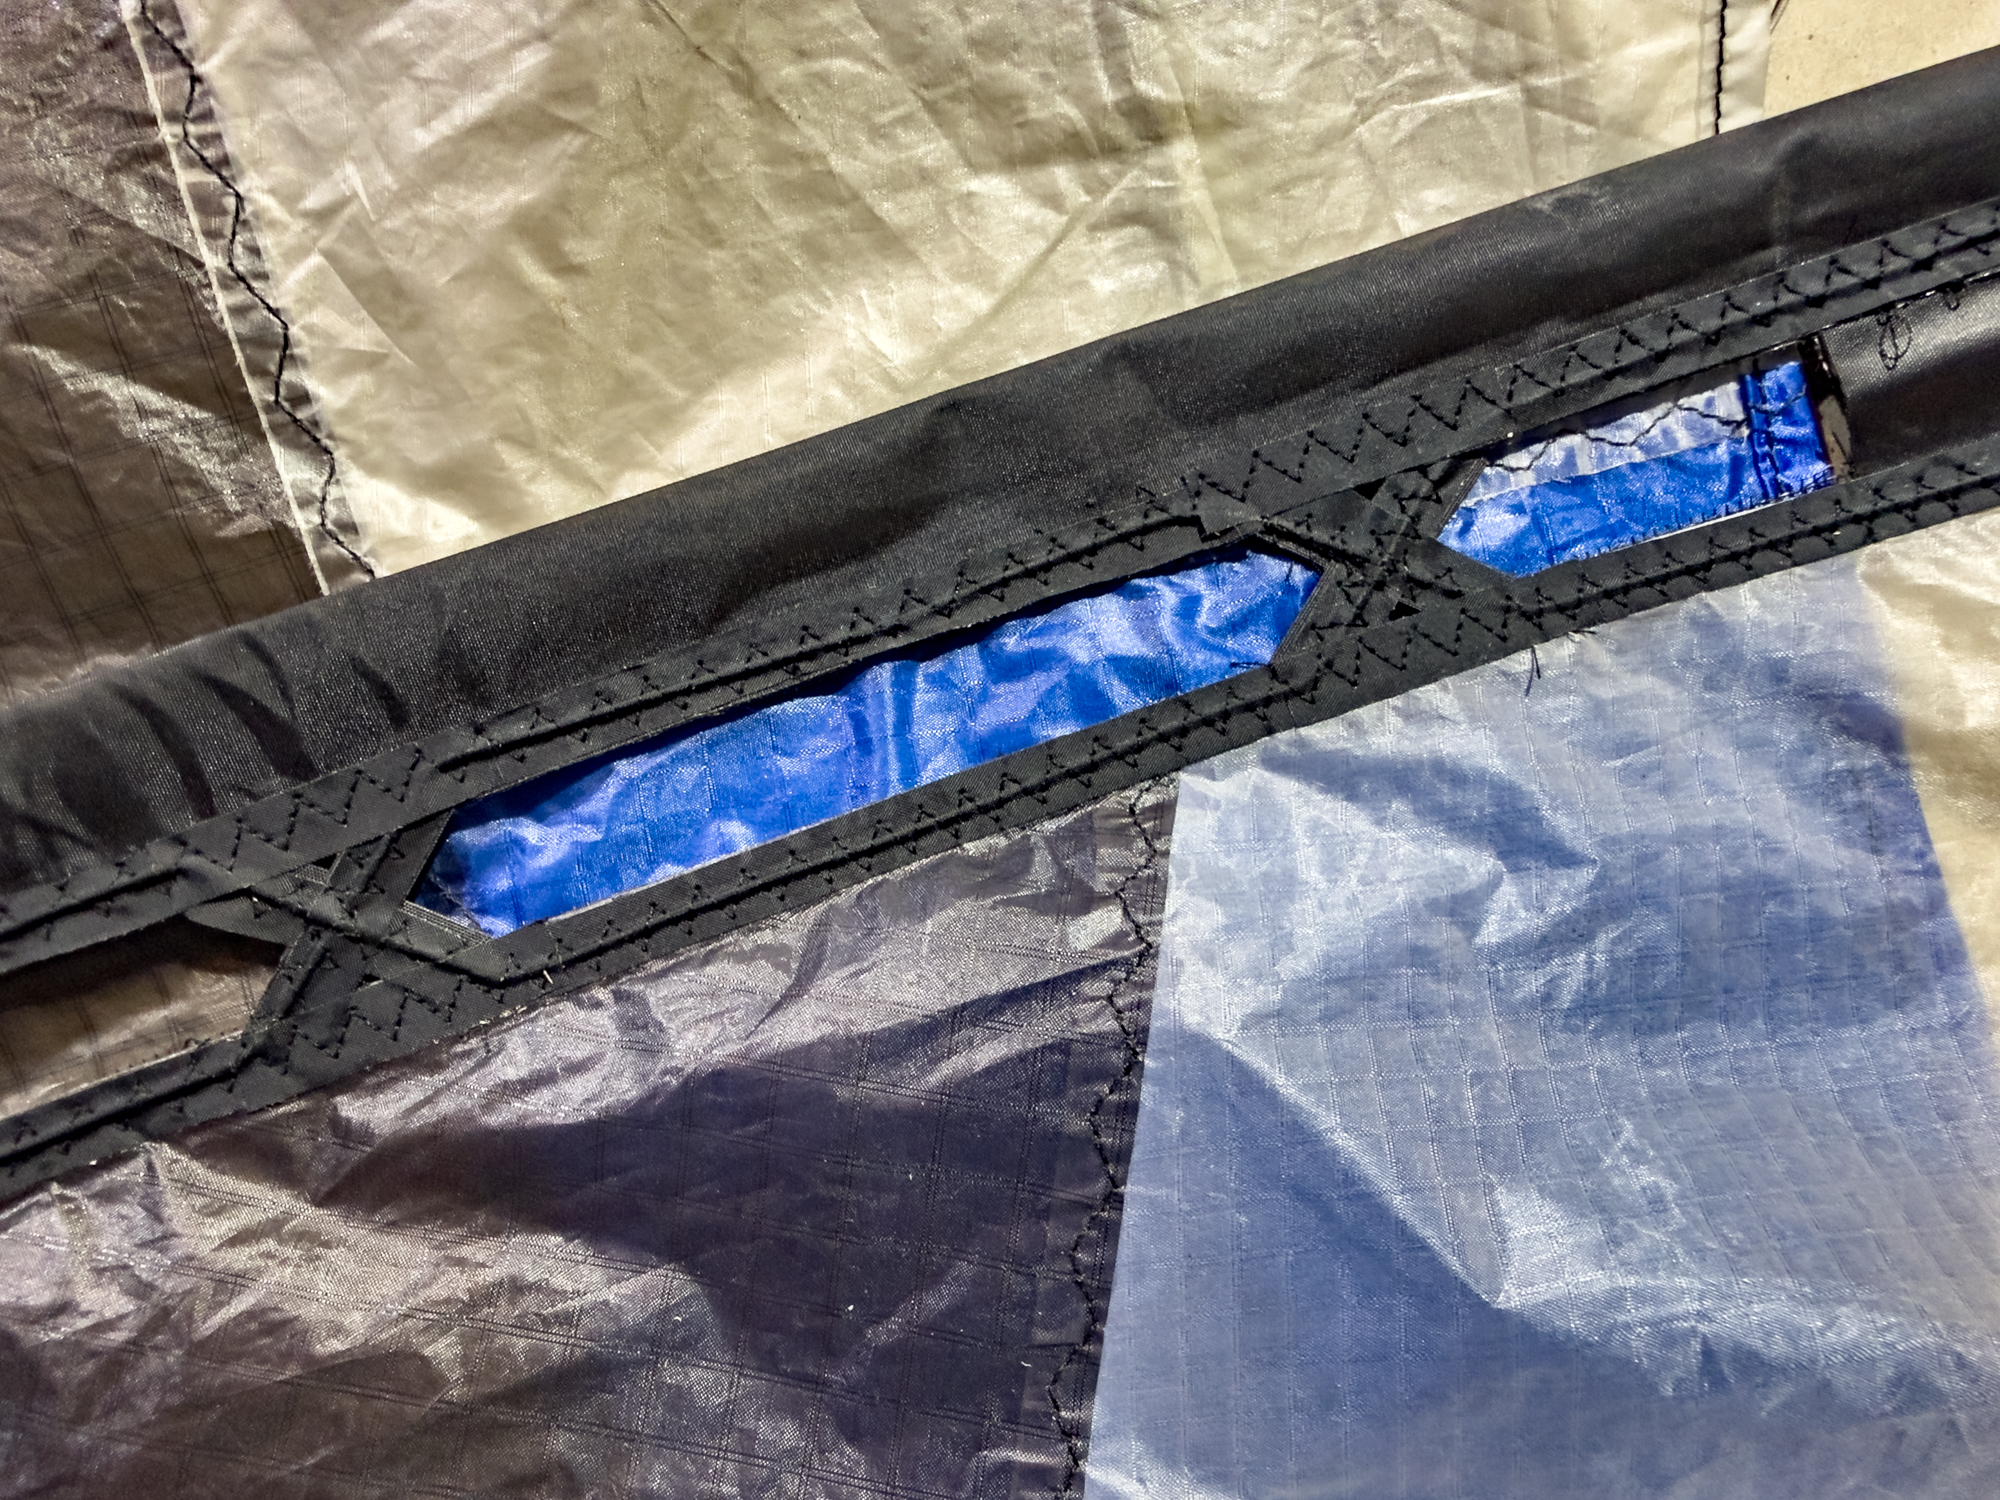
The face of the kite certainly looks secure and any misaligned 'X's are an aesthetic issue not a structural one!
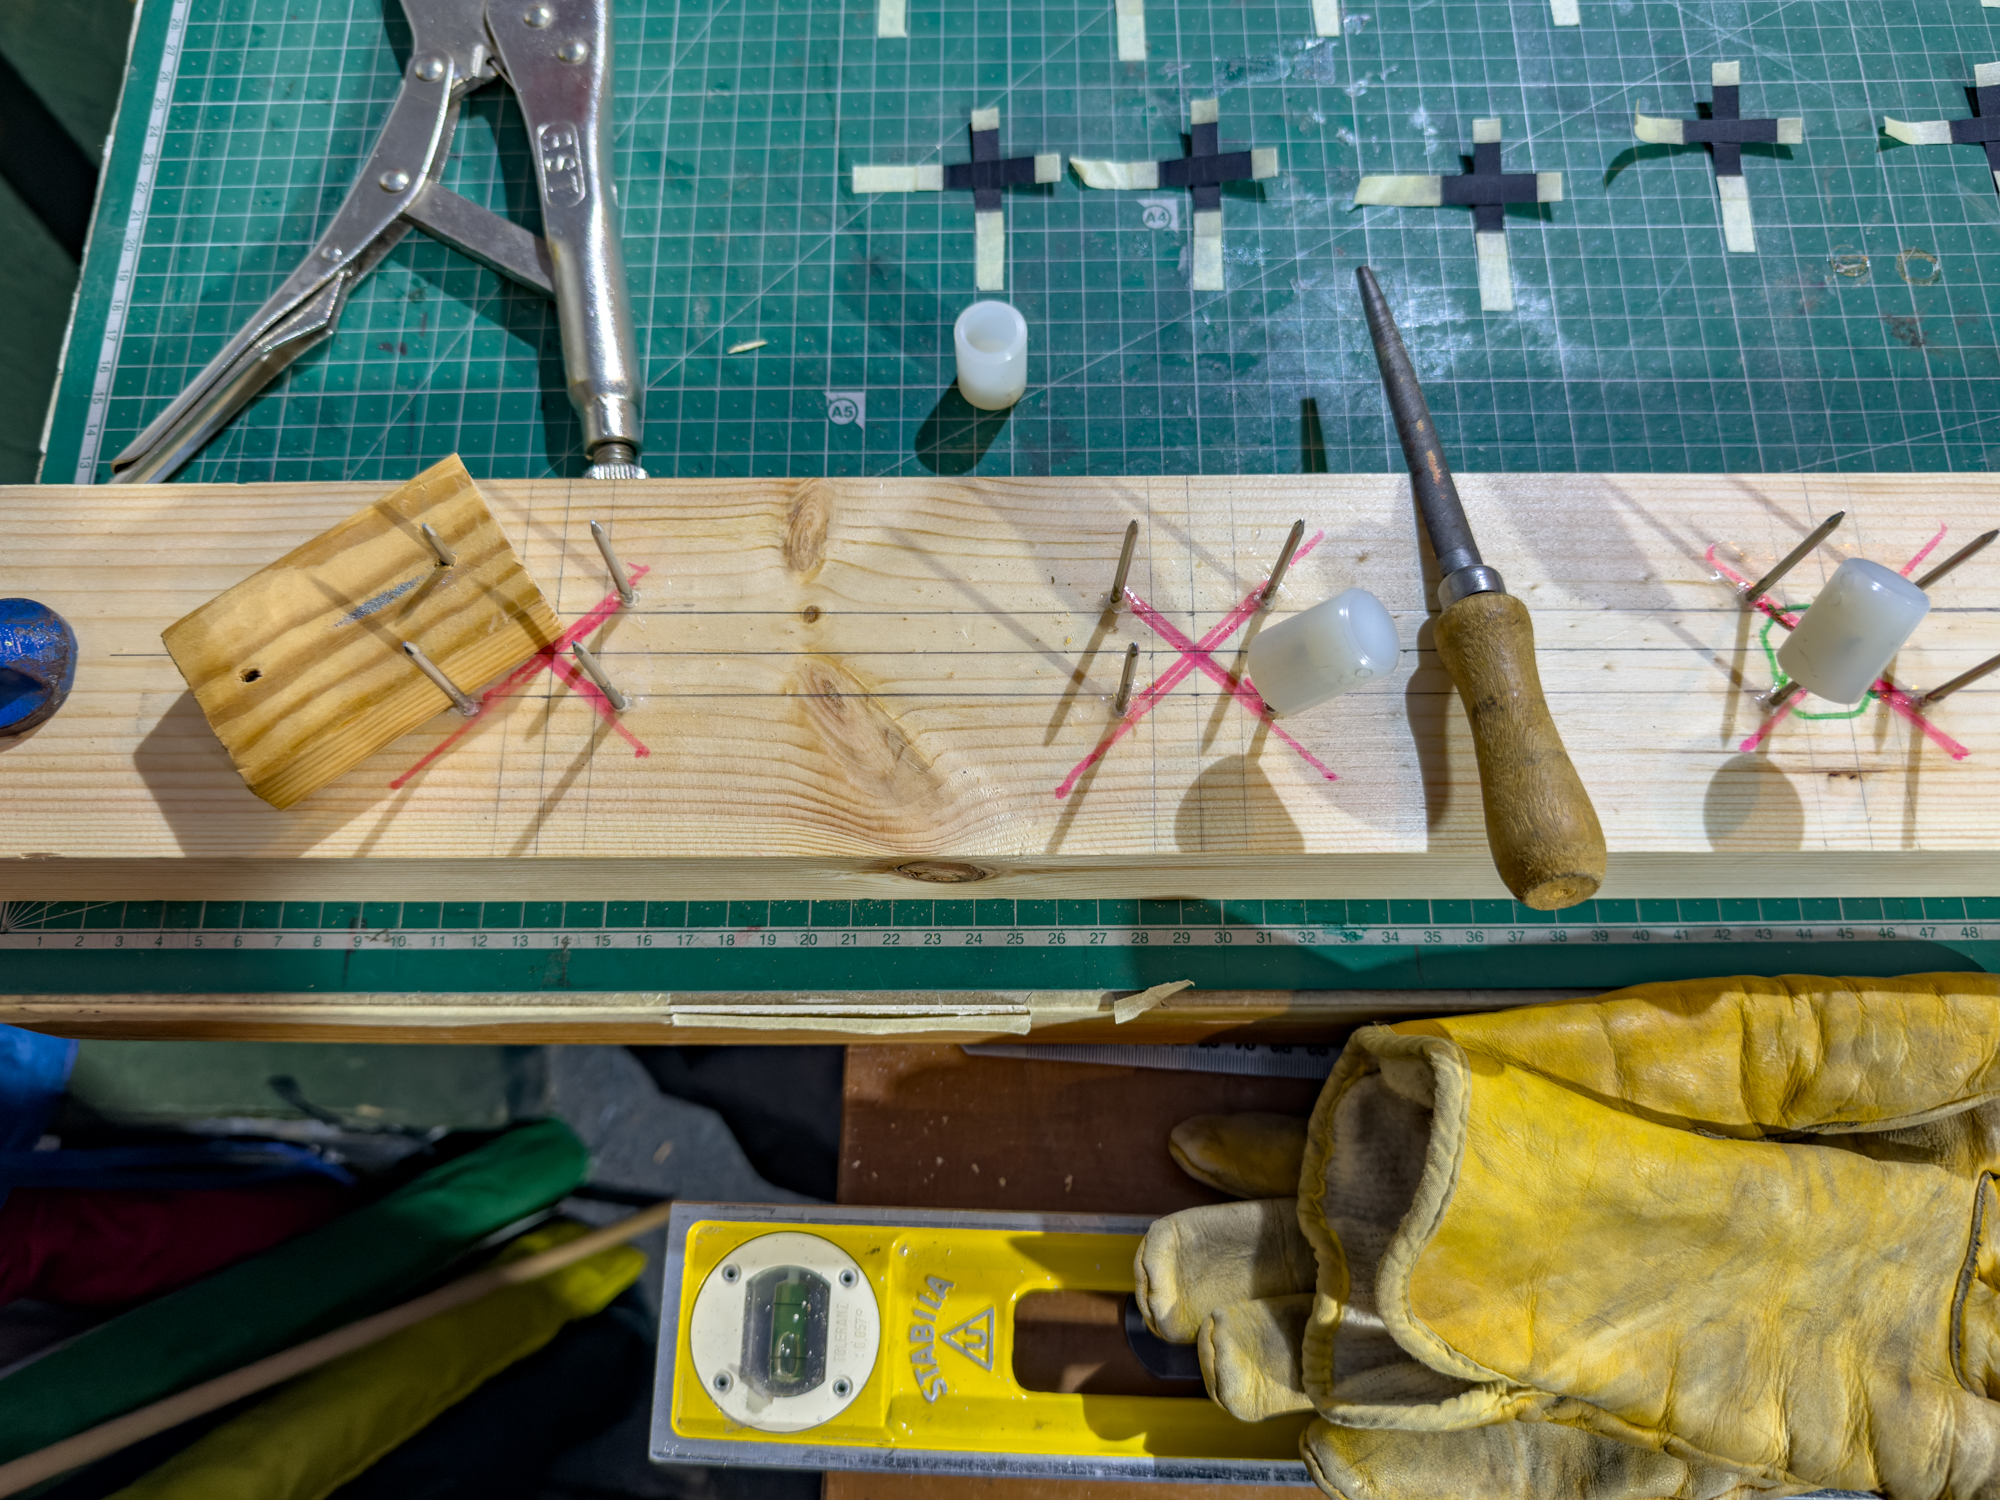
Although it may not make a lasting difference the nail heads in the jig have been re-glued and left to set.
The configuration of the 'X's will have to be considered as will the safe process for making the 'X' and line assembly. Blunting the nails may be a sensible option but covering them in some way is also under consideration.
Taking the sharp tips off with a file will be a start but capping or taping the tips will help keep things safe!
Just when a small brass plate, ready drilled is needed one turns up! A careful scribing of a shiny line 8mm from the edge becomes the guide for the cutting edge.
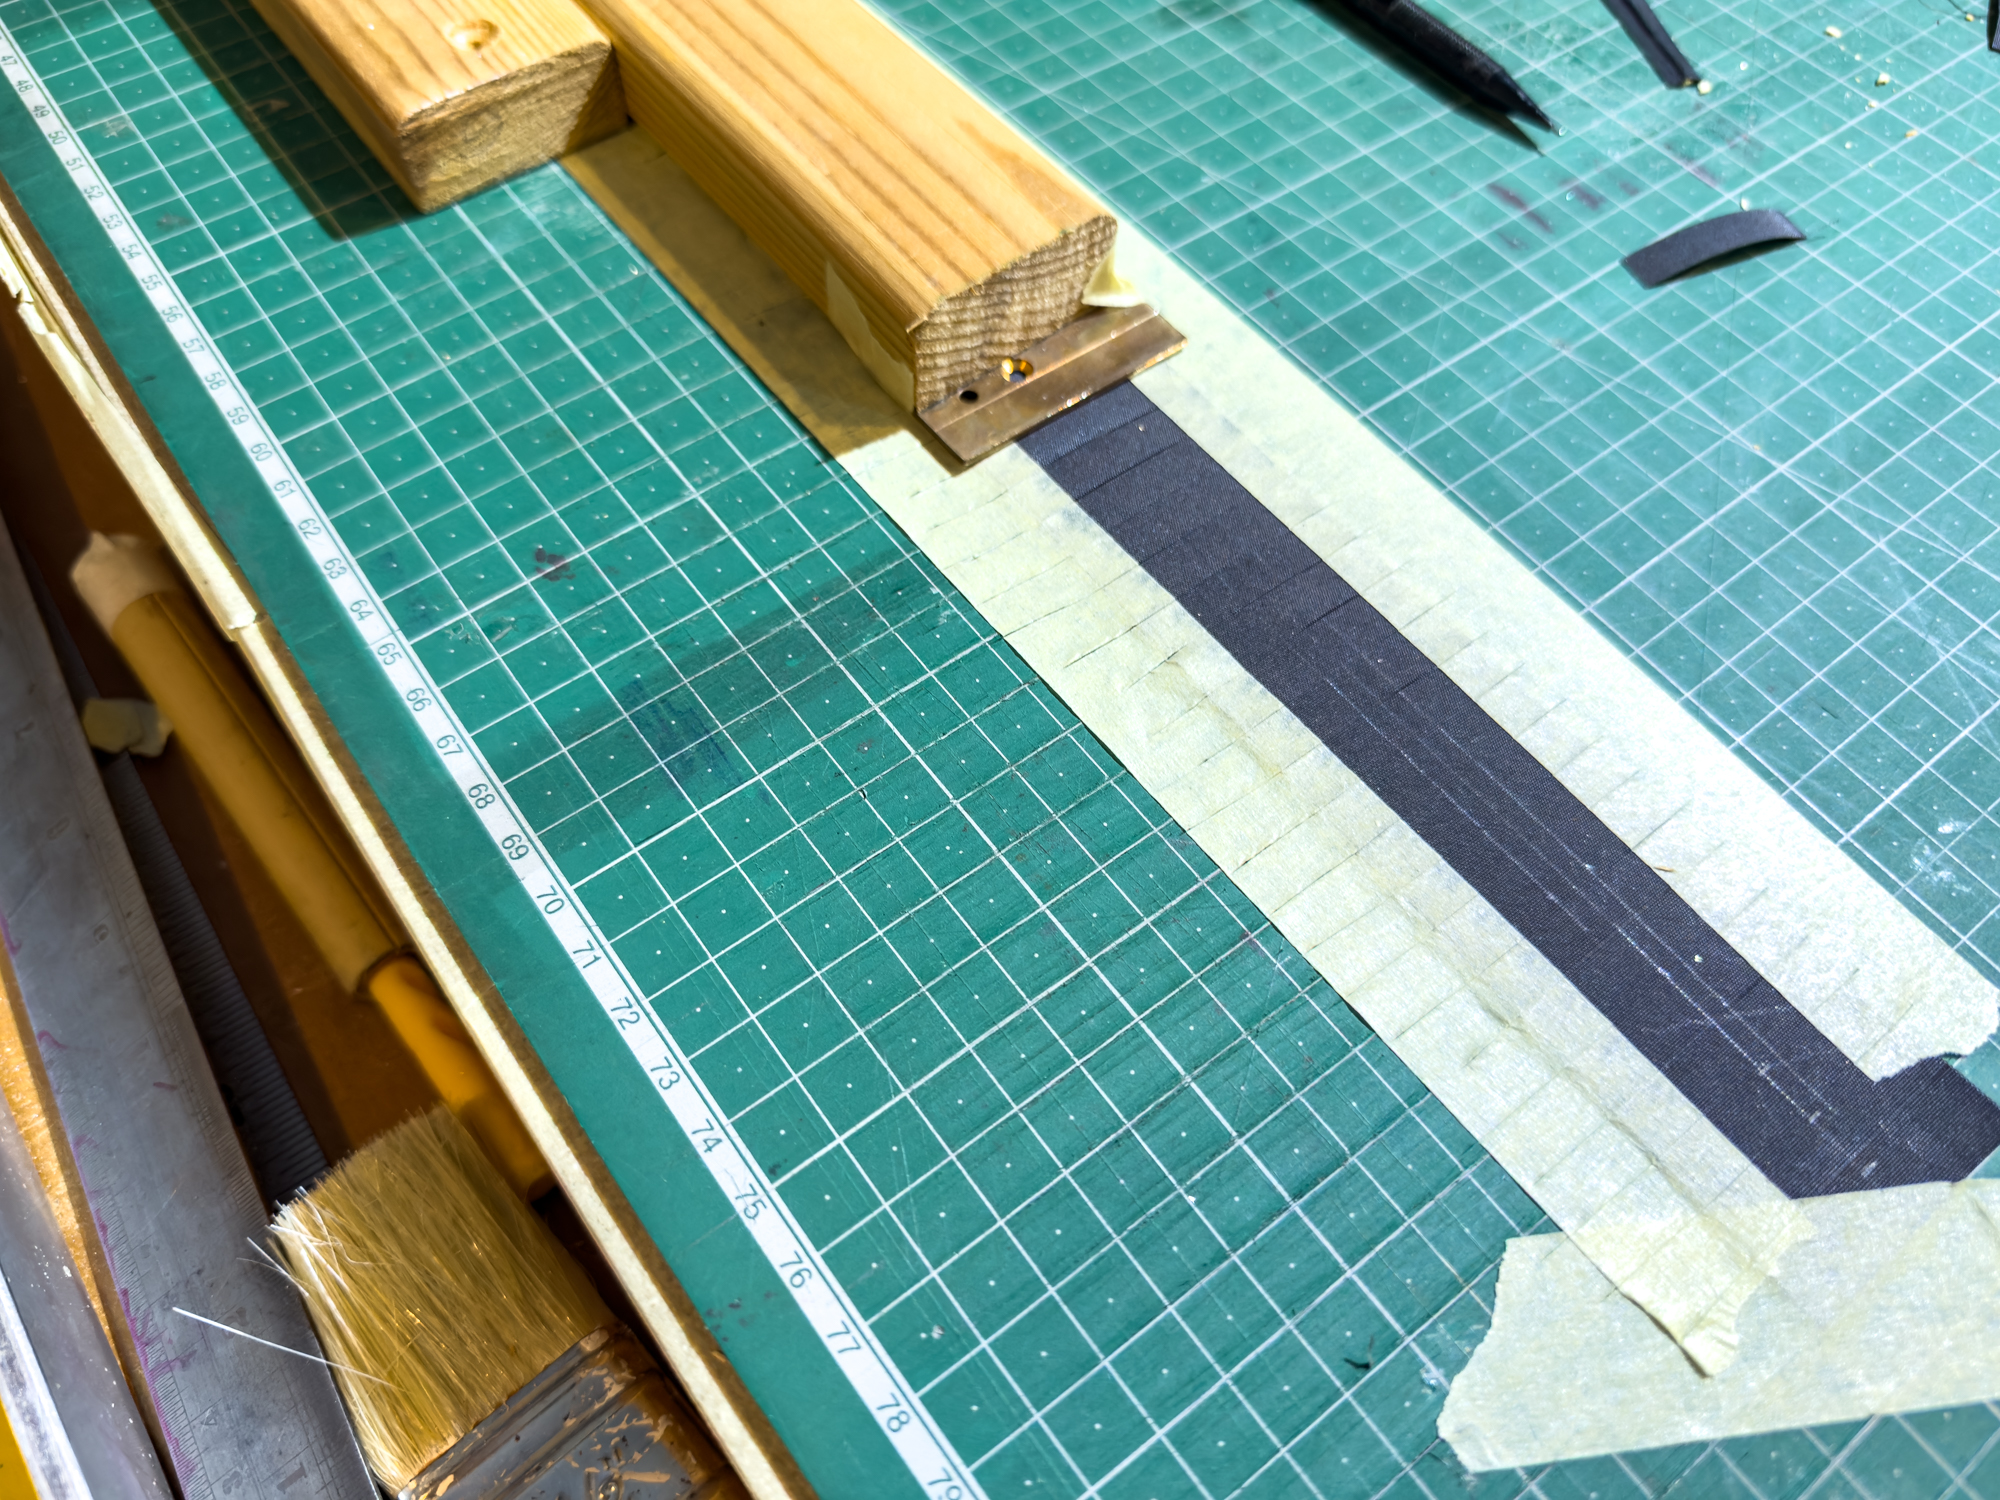
A timber clamped to the table top becomes the guide for the cutting assembly. Six cuts were possible in 30 seconds.
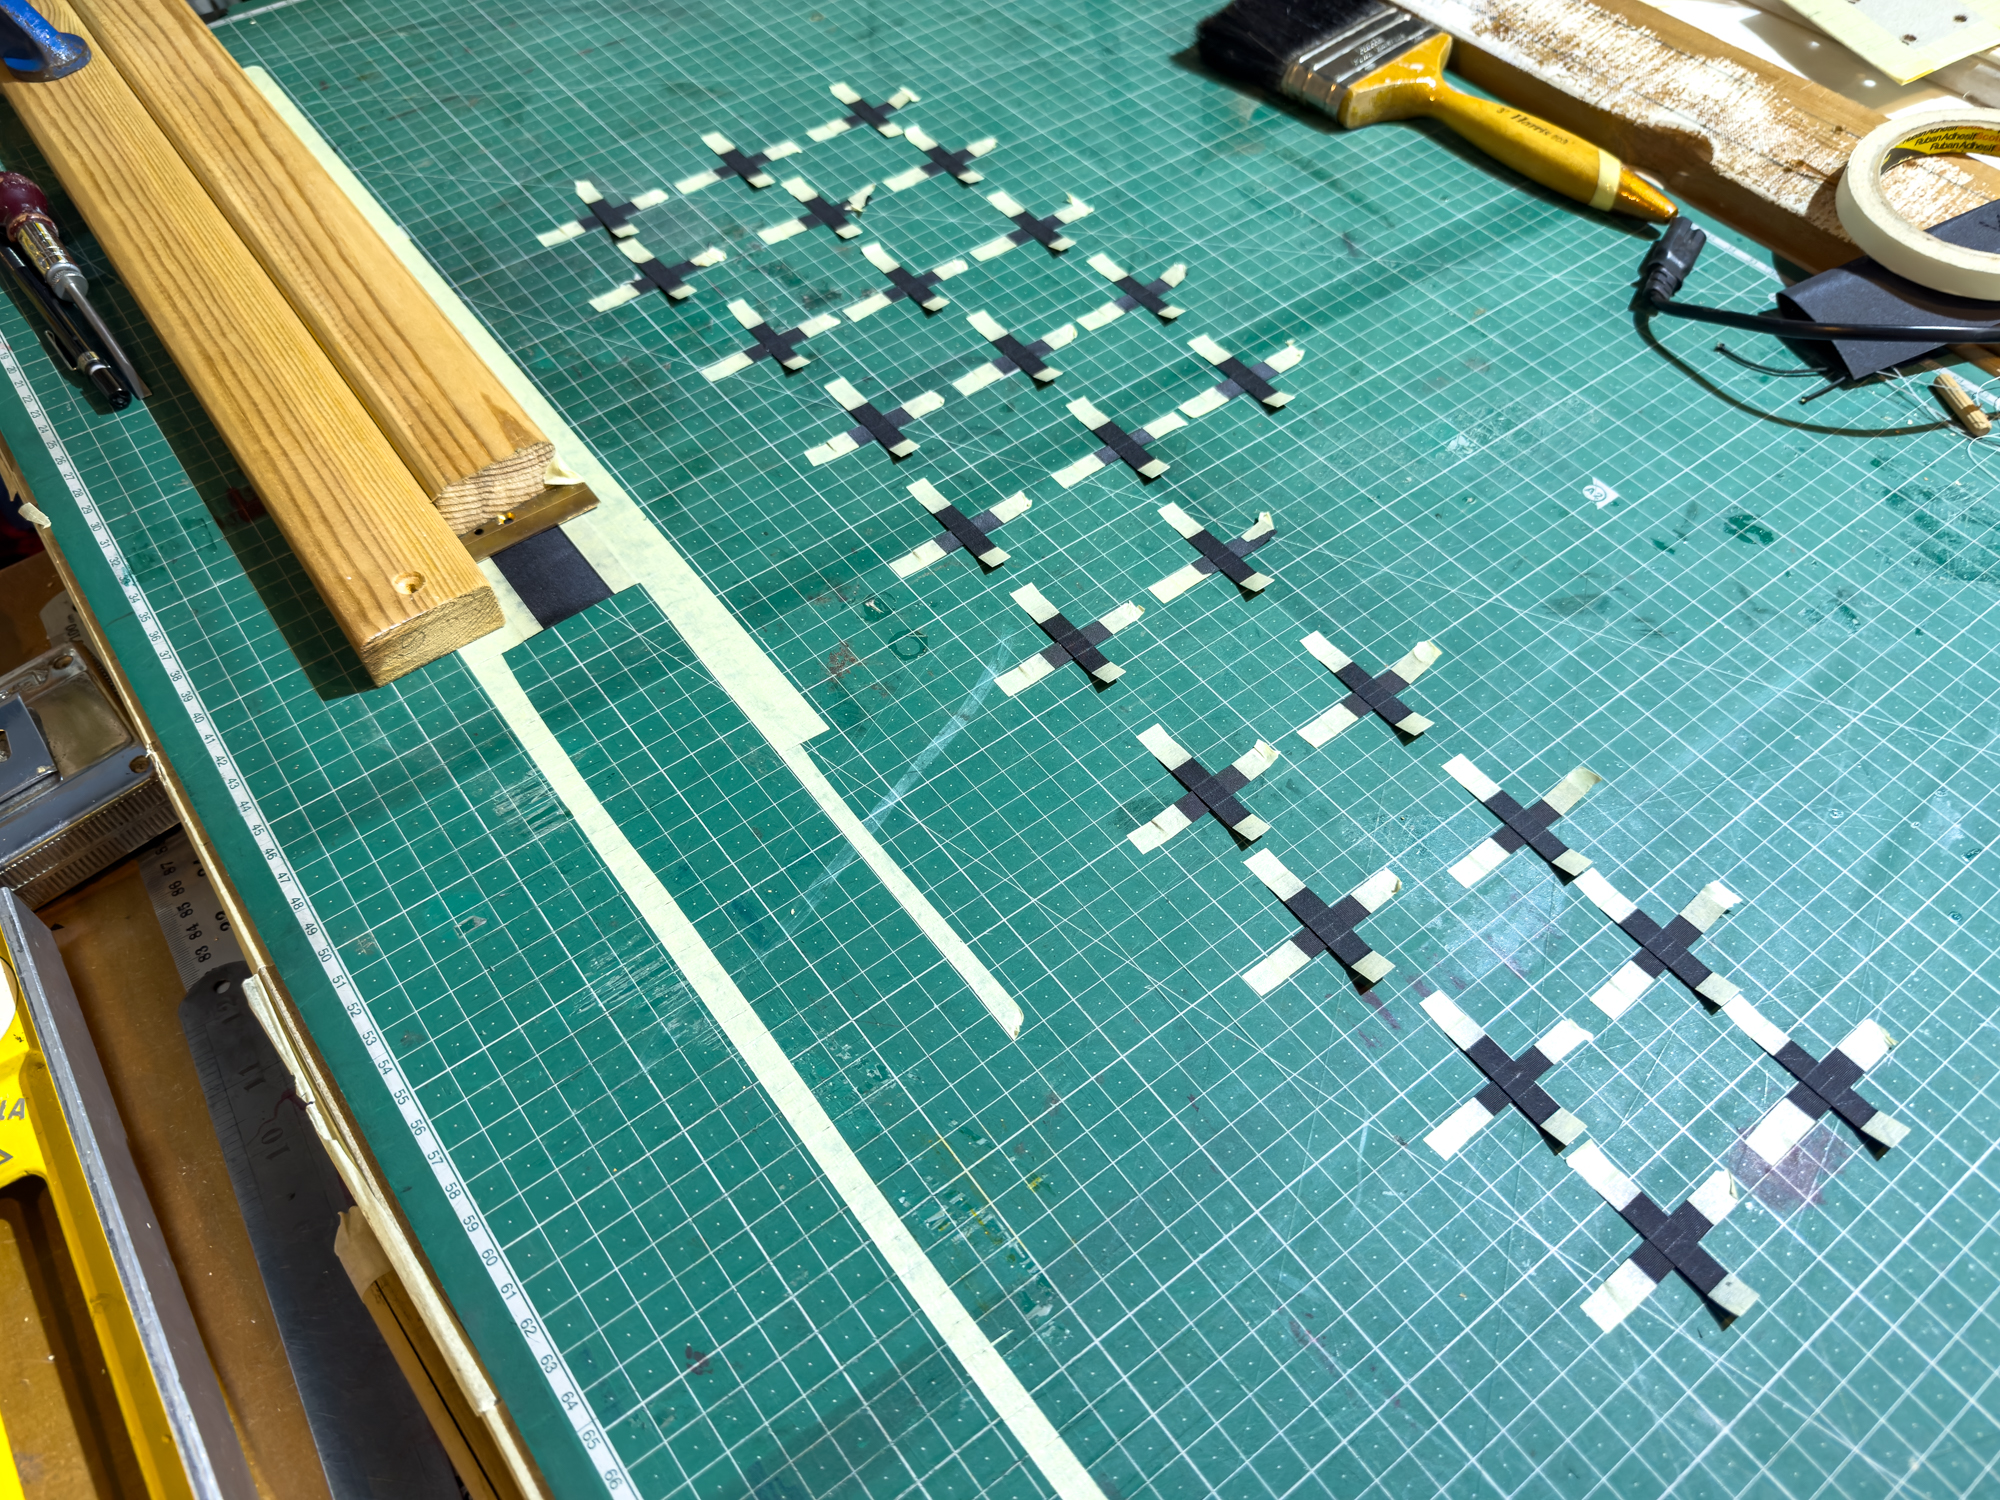
The adhesive was applied to half the batch which were spread out for completion.
Another 20 pairs cut and glued. 65/135 so making gentle progress.
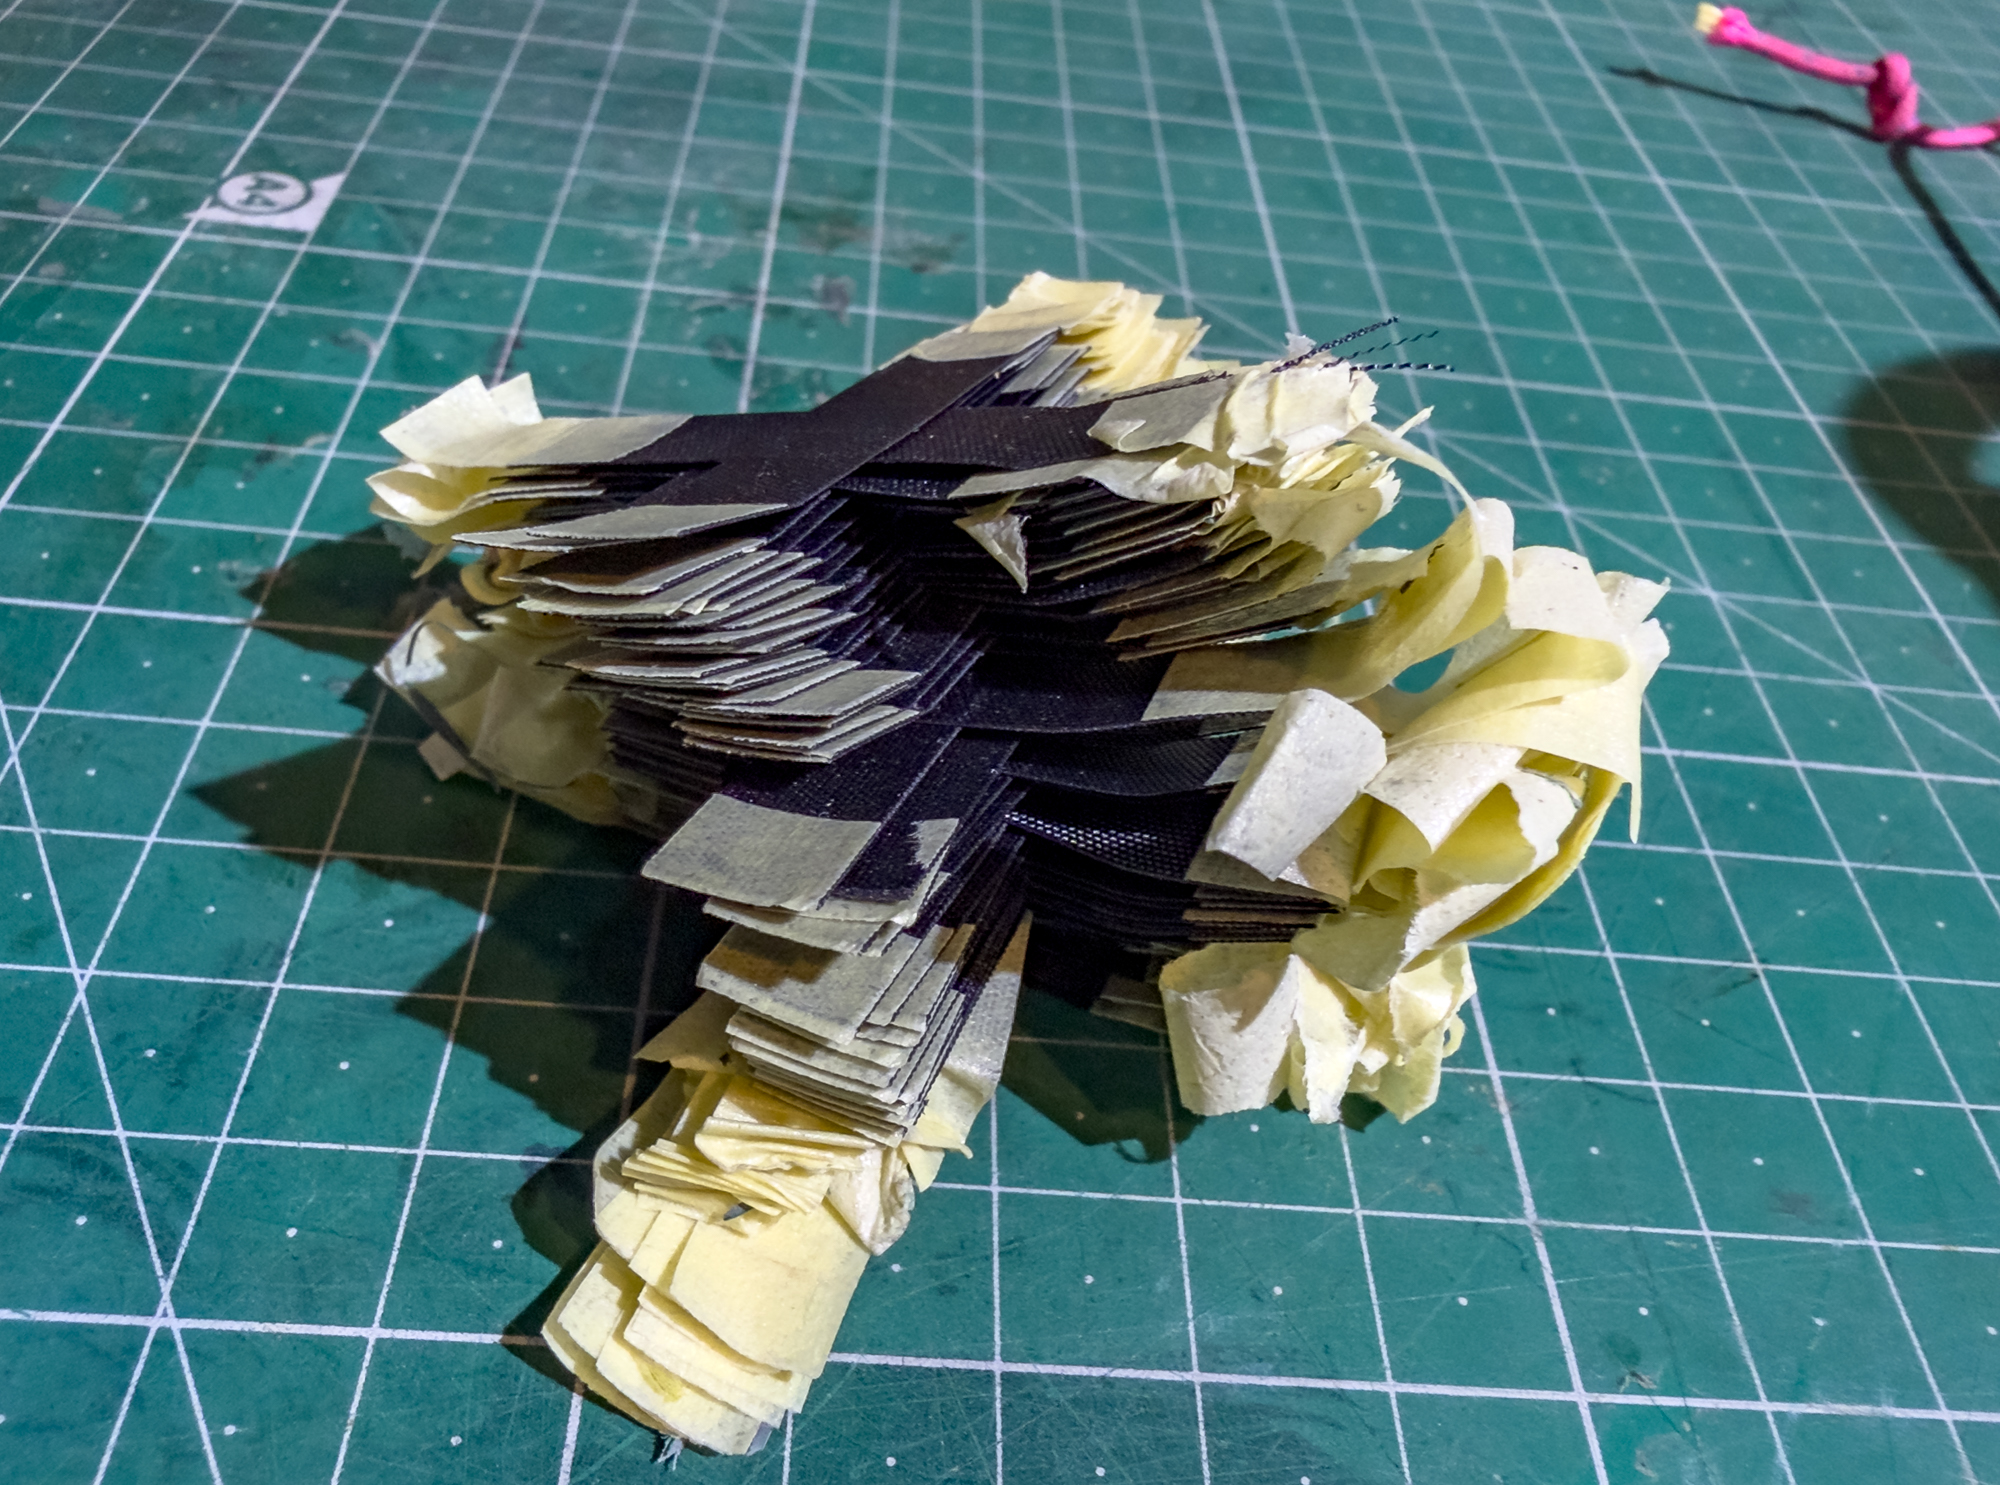
A stack of 'X's building.
Tackling sharps.
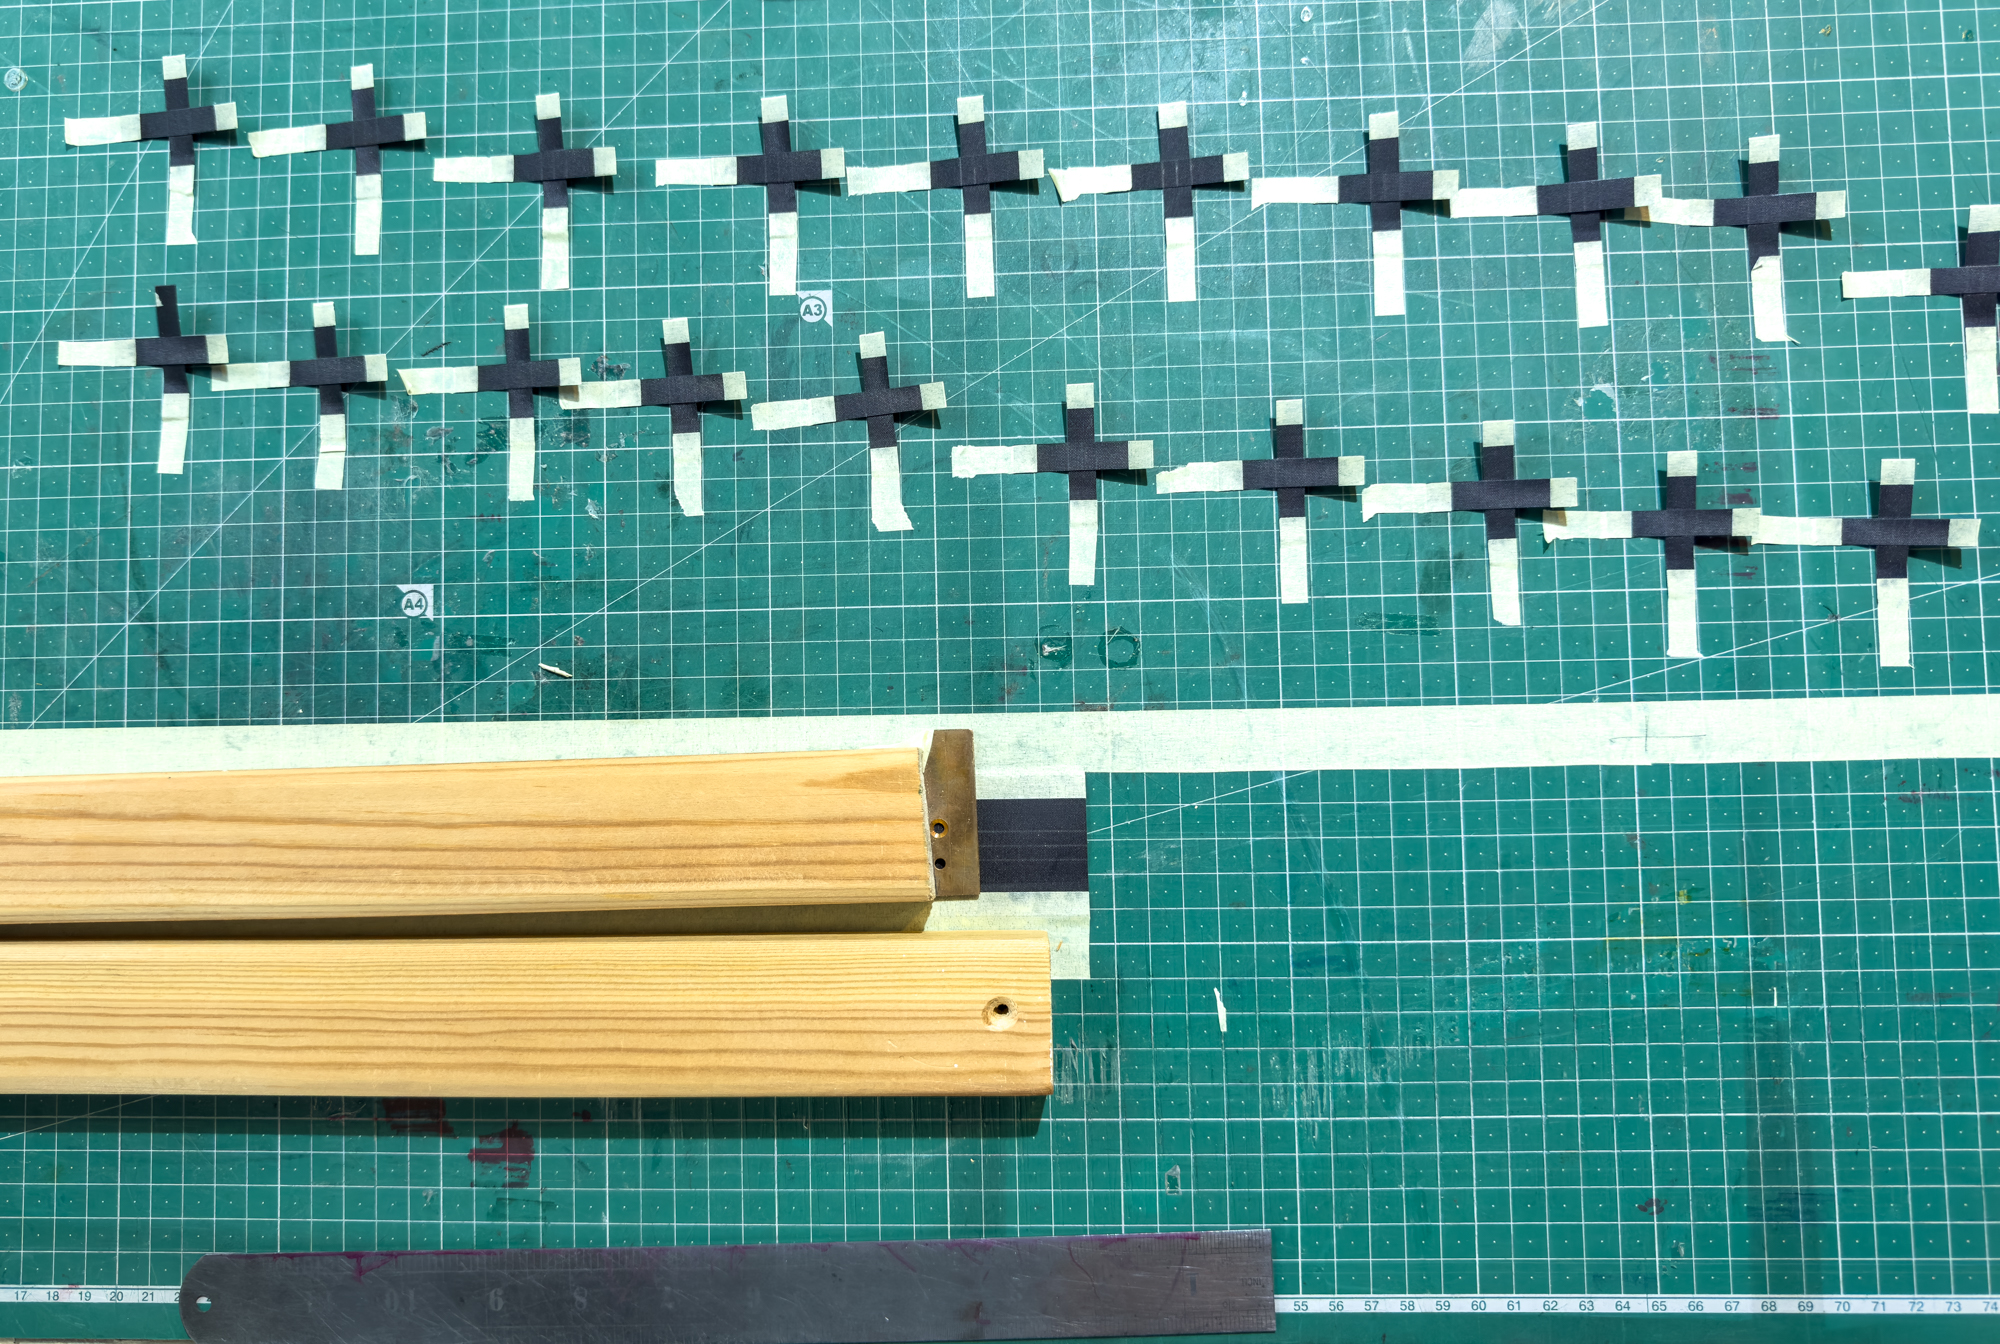
The slimmer elements should give a more clearly articulated 'X'. I will probably use adhesive to place them in the jig before laying the lines.
The slimmer elements should give a more clearly articulated 'X'. I will probably use adhesive to place them in the jig before laying the lines.
Page 1
Page 2
Page 3
Page 4
Page 5
Site Updated January 2026 Felix Mottram